

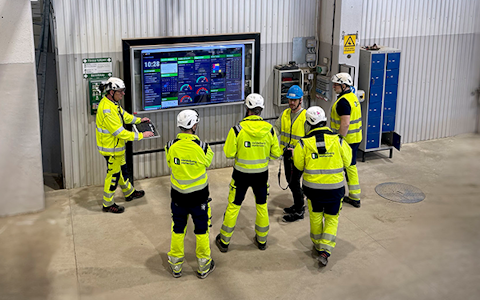
Digital dashboards that help you identify deviations and make the right decisions.

Capture your deviations and turn them into improvements

Continuous improvement, Kaizen boards, PDCA and other tools.
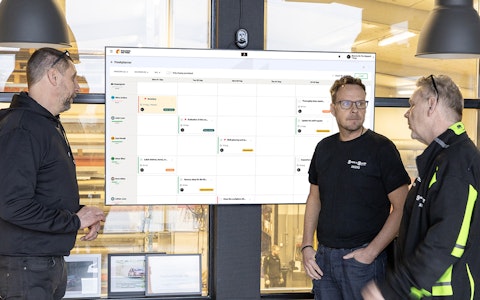
All your team’s tasks, neatly organized in one weekly view.
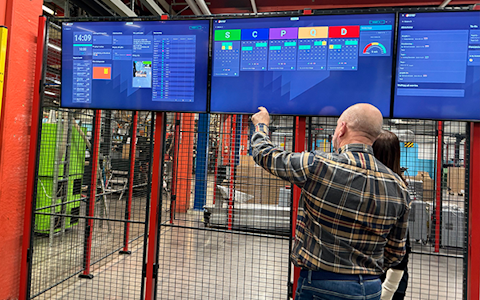
Improve key performance indicators within your specific focus areas with our SQCDP board.

Use the PDCA cycle as a tool to improve both quality and processes
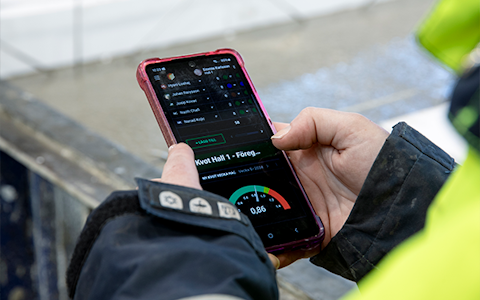
Digital tools for 5S work, recurring audits, and a well-organized workplace.
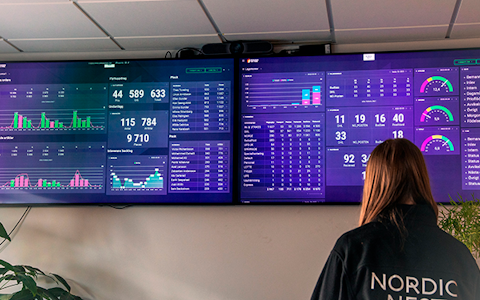
Visualize KPIs and communicate effectively throughout the entire organization.

Basic project management and activity boards.
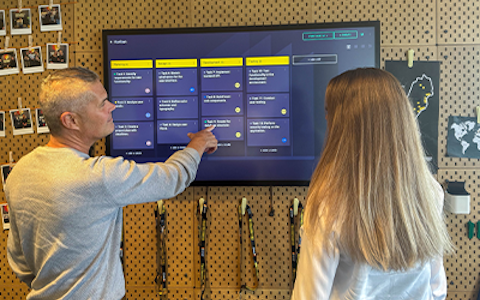
Kanban is a powerful method for visualizing, managing, and optimizing workflows.

Digital dashboards for takt time flow with takt time counter and stop time log.
Digital visitor registration provides full control over all planned and executed visits to your business.
One of the most flexible solutions our platform offers is what we have named entities. You can easily create and use them to manage everything from activity lists to projects in Boards on Fire. In this video, we will go through a few different examples of how they can be used. Entities are most often used in a dashboard with an entity component or focused on an activity board. Their strength lies in the flexibility and that information can be delegated or escalated in real-time.
To create an entity in Boards on Fire, click on the three menu bars in the upper left corner. Then scroll down and click on the tab "Entities" under the heading "Administration".
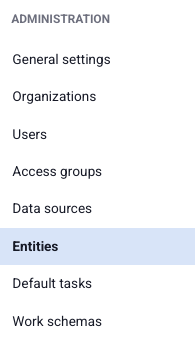
Now you see the list of all entities that are saved. To create a new one, click on the green button with the text "+ Add" in the top right. Now you enter the menu for your new entity.

In the menu, you first need to choose a name for the entity. The name you write in the "Name" field must follow the following rules:
The name you enter here cannot be changed later, so choose the name carefully. Below are some tips for naming:
You can then choose the display name for your entity. It is this name that will appear in lists of available entities. You enter the display name in the "Display name" field. Here you can use which characters you want, there are no rules for the display name. In the field under display name, you can also fill in a description for the entity.
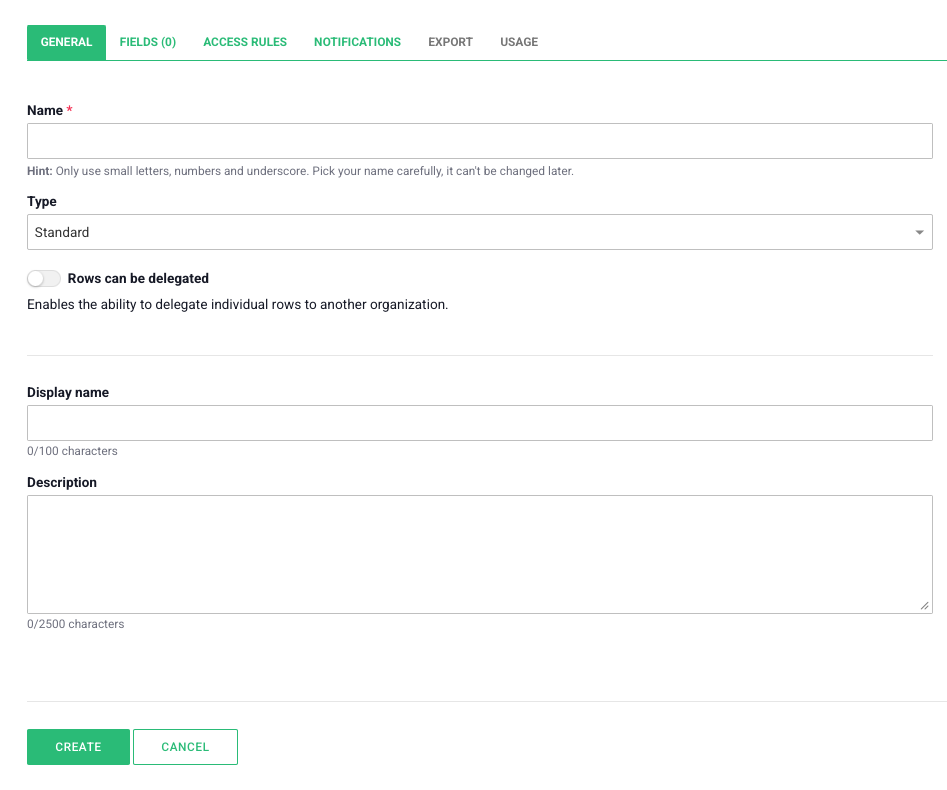
When you create a new entity, you can choose the type of your entity in the first step. The choice you make can give you a template for your entity. If you choose the type "project", there will be some fields in the entity right from the start, which can facilitate the creation of the entity. If you want a completely empty entity to build from, choose the type “Standard”.
You should now add some fields to your entity. You do this by going to the "Field" tab in the settings for your entity. To add new fields, click the green "Add field" button below the table. After you add a new field, you need to give it a key and a display name. For the key, the same rules apply as for the "Name" field when you create a new entity. For the display name field, there are no rules.
When naming fields where you want to communicate ownership, start with the ownership and end with what it pertains to.
Example:
These names are recommended for use where applicable. They are used by various standard types of entities that we have, such as the Project module, Visit module, simple entities, etc.
| Key | Datatype | Description |
| name | String | Used for the field that describes the Entity Object |
| description | Text | A more detailed description of the Entity Object |
| responsible | User | Responsible person |
| start_date | Date/Datetime |
A start date/time of any kind |
| end_date | Date/Datetime | A end date/time of any kind |
| status | Status | The status of the Entity Object |
| tasks | TodoList | Tasks which belong to the Entity Object |
| position | Number | Which sorting order the Entity Object is going to have |
| date | Date / Datetime | Used, among other things, when you want to date stamp an entity object to be able to filter on it |
Once you have named your field, you need to choose the data type it should have. You select data type in the drop-down menu under the heading "Data type" on the far right of the field.
Data Types and Their Uses
Besides regular fields, you can also add calculated fields as well as kanban fields.
With a calculated field, you can automatically get a digit or status color depending on values of other fields. Here you first choose key and display name. You can then choose if a status color should be the result of the calculation or if a digit should be calculated.
If you choose "Kanban fields" under "add", the fields "position" and "kanban_columns" will automatically be added. To be able to use the kanban board, you just need to choose an existing or add, a so-called "simple entity" in the list.
The tab "Usage" lets you get an overview of how much and where the entity is used.
When you have created an entity, you add an entity component on an overview board. There are several settings to make on the component.
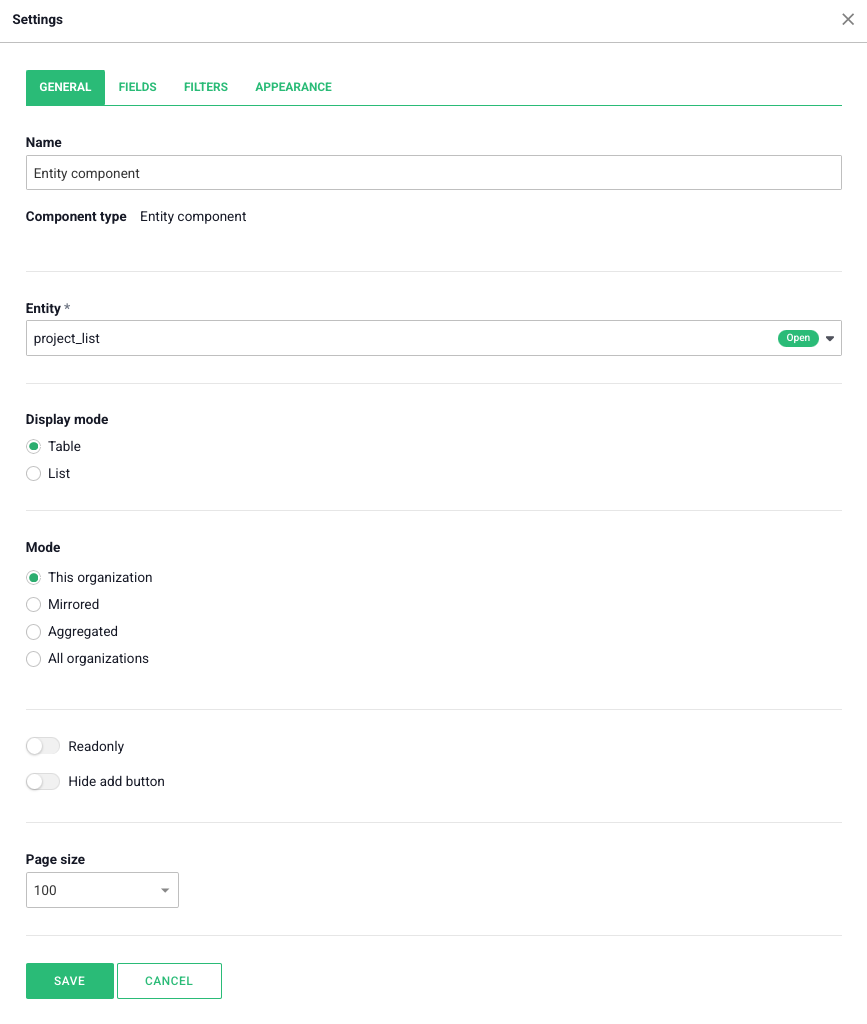
Under the tab general, you choose which entity is to be used in the component.
Under "Display mode", you can choose if the rows in the entity should be seen as a list or table. Table becomes an excel-like view and the list view becomes instead cards where you decide which information is visible per card.
Which mode the component is set in determines from which organizations it fetches data. For example, you can aggregate data from underlying organizations or only see data that is entered in the current organization. Do you want to know more about aggregation and mirroring? Peek at our video that deep dives into just that.
If you only want to show data in the component, you can easily write-protect it or hide the "Add”-button. It is also possible to choose how many objects may maximally be seen in the list.
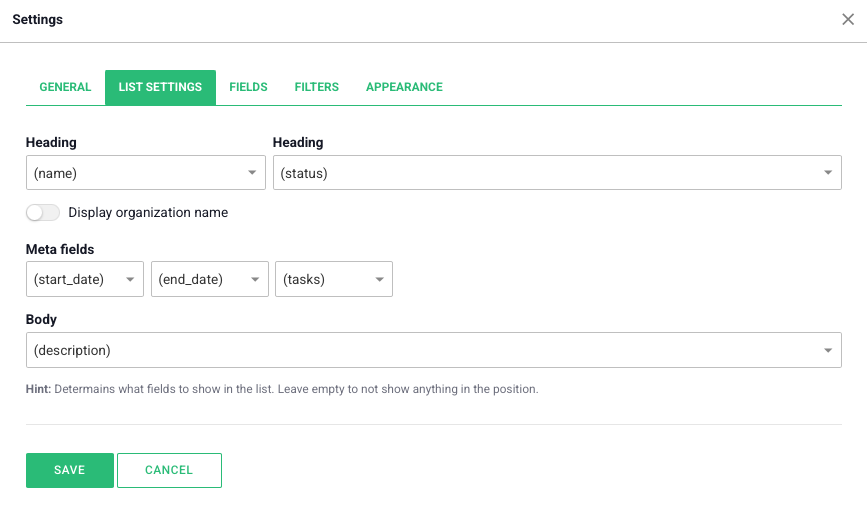
If you have chosen "List" as display mode, you get under the tab "List settings" the opportunity to adapt the appearance of the list. For example, which of the fields should be seen as a header or if any field should be hidden in the list.
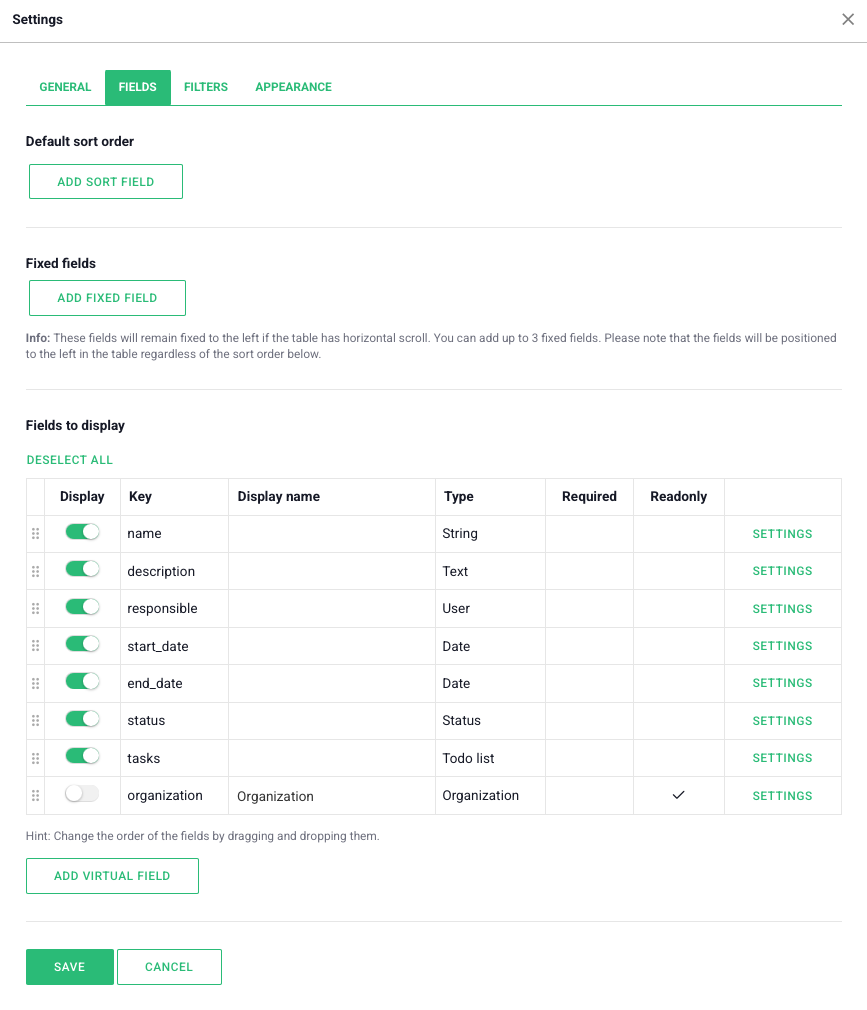
Under the tab "Fields", you can besides adjusting the settings for the existing fields also add one or several sorting fields to adapt how the list is sorted. Here it is also possible to lock a field to the left if the entity has many fields and needs to be scrolled sideways. You can also add "Virtual fields" which just like calculated fields can show a number that depends on other fields. It is a calculation that is either done with numerical values or time.
When you press the three dots furthest to the right of a row, the usual functions for creating improvements and deviations exist, but also the editing mode. Here you can easily change or update information in the row. The archiving function archives a row, and it then disappears from this view and ends up in the archive.
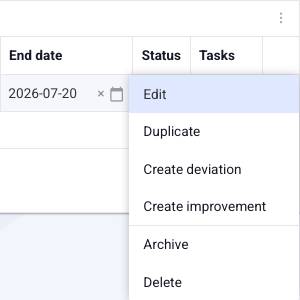
An activity board behaves roughly like a large entity component. You can in an activity board show the rows in your entity as a table, an extended list with details over subtasks, a GANTT chart or as a Kanban board.
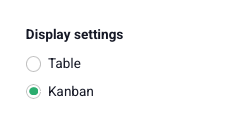
If you want to use the kanban view, you go to the board's settings and choose kanban under the tab "General". Under the tab "Kanban", you can then choose how the cards should look, just like when "List" is used as display mode for an entity component. The cards can easily be moved between columns through drag and drop.
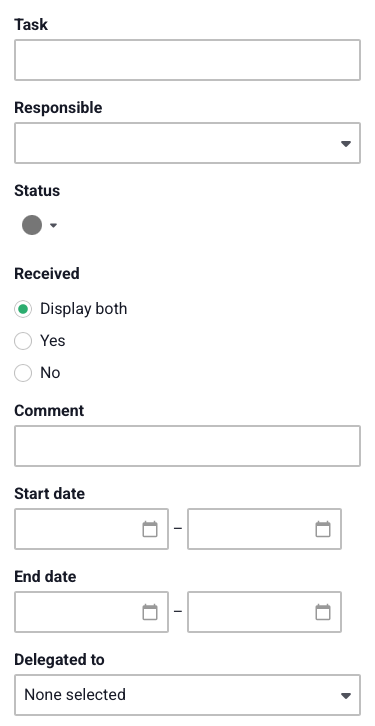
Filtering: Up to the right there is a quick filtering function. Here you can easily filter on all fields in the entity, for example all projects with red status or all Lisa's tasks.
Archive: When a project or activity is finished, they are usually archived, and you reach the archive furthest up to the right on the three dots. Click on archive and the archive opens where all archived rows lie saved. It is possible to un-archive a row if the need exists. Click on close archive to return to the activity board.

Entities are thus a powerful and flexible function in Boards on Fire that can be adapted according to your specific needs – regardless of whether it is about managing projects, following up activities or visualizing flows. By combining the right field types, views and settings, you can create effective tools that support your daily work through the whole operation.
Free web demo


