
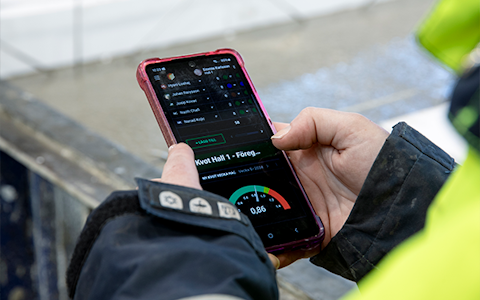
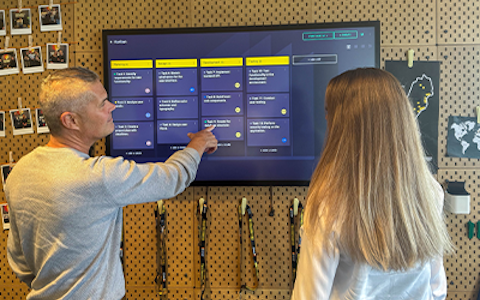
Digital dashboards that help you identify deviations and make the right decisions.

Capture your deviations and turn them into improvements

Continuous improvement, Kaizen boards, PDCA and other tools.
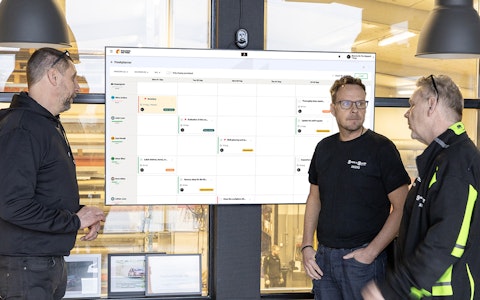
All your team’s tasks, neatly organized in one weekly view.
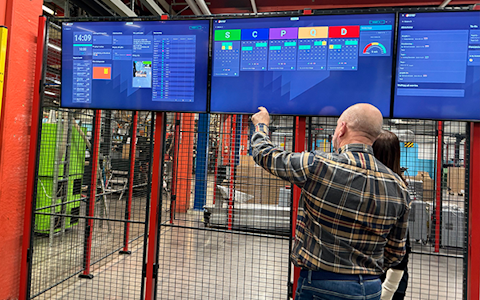
Improve key performance indicators within your specific focus areas with our SQCDP board.

Use the PDCA cycle as a tool to improve both quality and processes
Digital tools for 5S work, recurring audits, and a well-organized workplace.
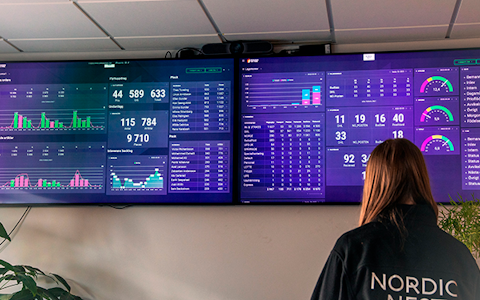
Visualize KPIs and communicate effectively throughout the entire organization.

Basic project management and activity boards.
Kanban is a powerful method for visualizing, managing, and optimizing workflows.

Digital dashboards for takt time flow with takt time counter and stop time log.
Digital visitor registration provides full control over all planned and executed visits to your business.
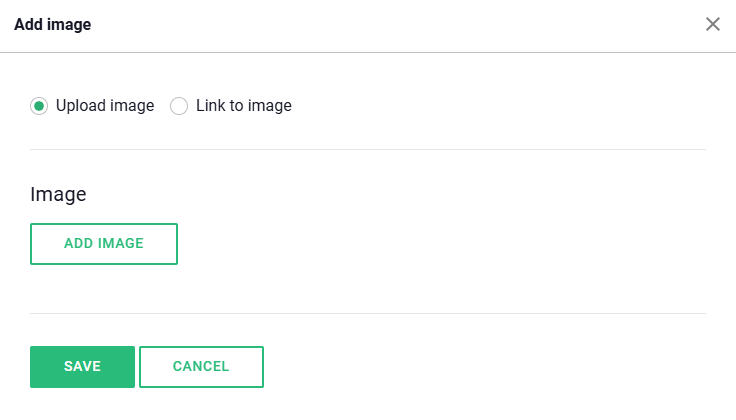
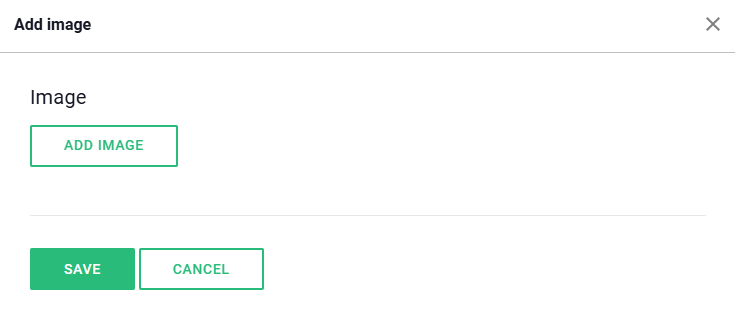
When adding an image component to the board, you can easily do so by clicking the "+ Add Image" button. There, you have two options to choose from depending on your needs. You can either upload an image from your own device, which is ideal if you have a specific image already prepared. Alternatively, you can link an image from the web by entering a URL. Once the image is added, you can adjust it as needed to fit the board’s layout and content.

If you want to add an image that is already saved on your device, you can easily click on the "Upload Image" option. By selecting this, you'll have the opportunity to browse through your files and choose the image you want to use. It's a convenient and user-friendly way to add personal content directly from your computer, tablet, or mobile phone.
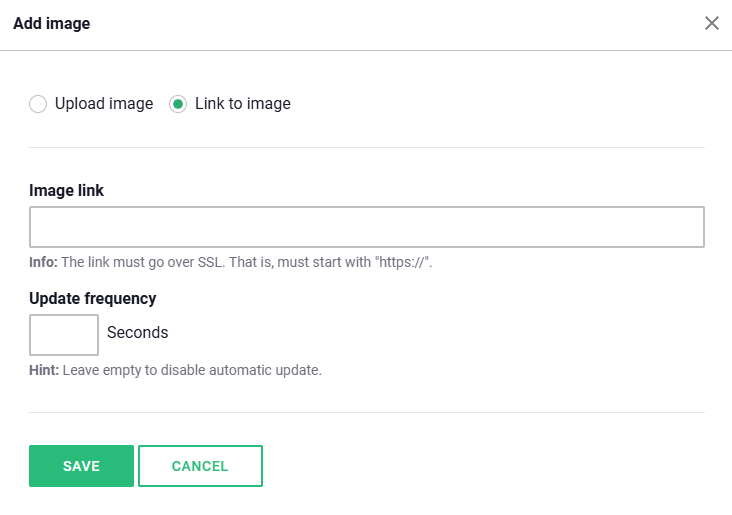
If you choose to link an image from an external source, it is important to ensure that the link uses SSL encryption. This means the link must start with "https://", which guarantees that the image is retrieved from a secure and encrypted connection. This is crucial both to protect data and to ensure that the image displays correctly on the board. Additionally, in the settings for the image component, you can specify how often the image should be updated by setting the refresh rate in seconds.
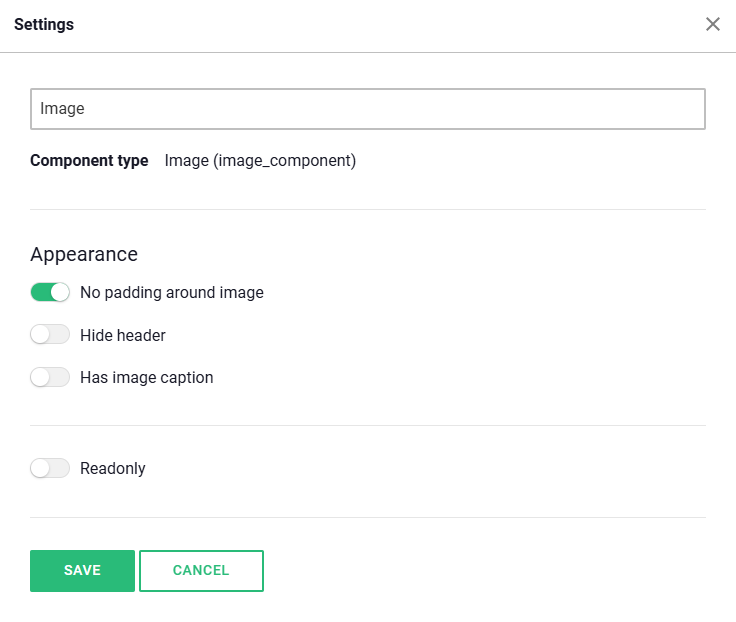
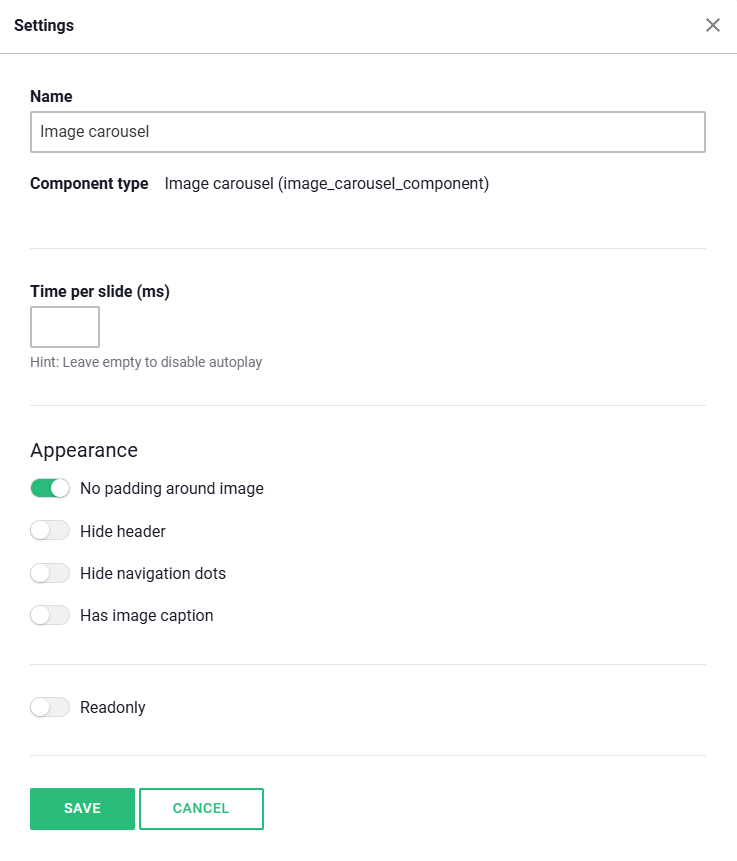
In the image component settings, you can also choose the appearance of the component. The following settings are available:
The image carousel is a flexible and powerful component that allows you to present multiple images in a rotating view. This creates a visually appealing and engaging experience, ideal for showcasing your content in a professional and dynamic way.
Unlike a traditional image component, which only displays a single image at a time, the image carousel allows you to present multiple images in sequence. With its built-in automatic slideshow feature, you can seamlessly rotate between images, making it easy to capture and maintain your audience's attention.
If you want the slideshow to play automatically, you need to specify how long each image should be displayed before moving to the next one. This setting can be easily adjusted by defining the time interval in the component's settings.
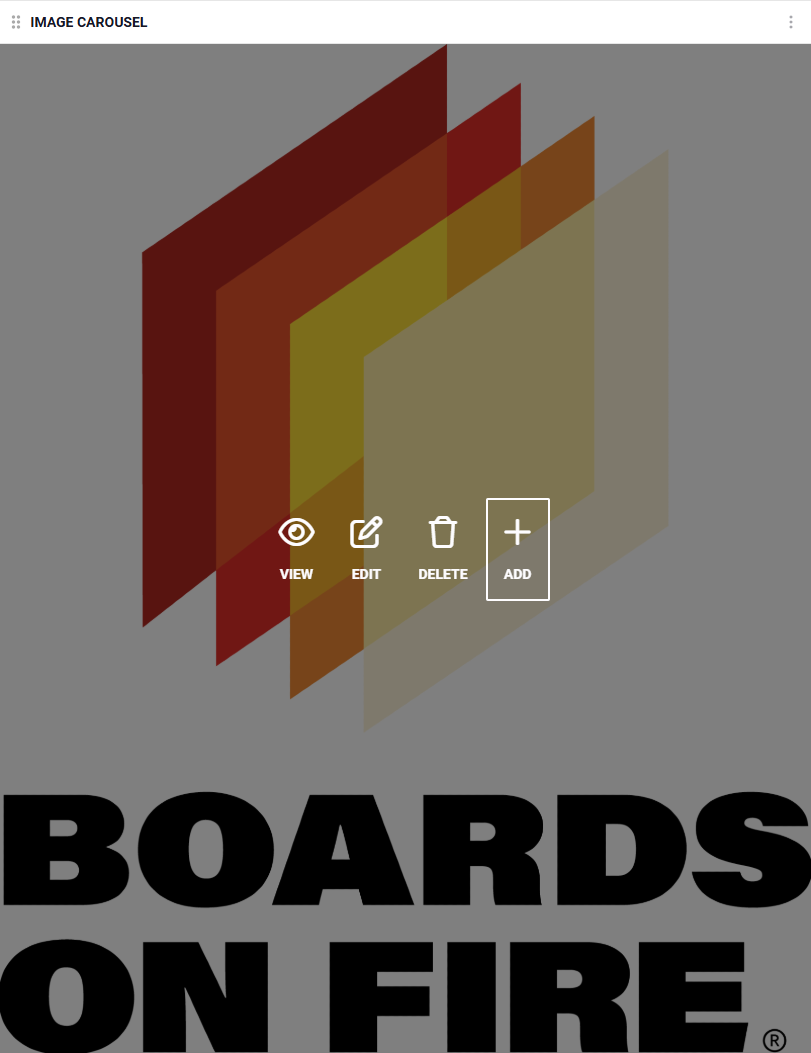
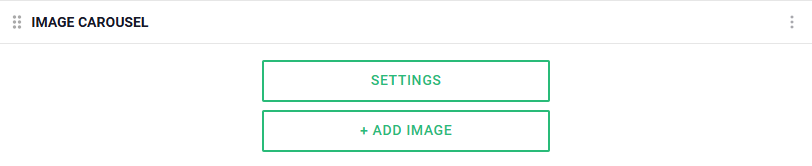
Once you have placed the component on your board, you will see two options directly within the component: "Settings" and "Add Image".
Select "Add Image"
Click the "Add Image" button to proceed to the next step. Here, you will have the option to choose the image you want to upload to the carousel.
Choose an Image from Your Library
In this step, you can easily upload an image from your existing image library or add new ones. Browse through your saved images and select the one that fits best for your carousel.
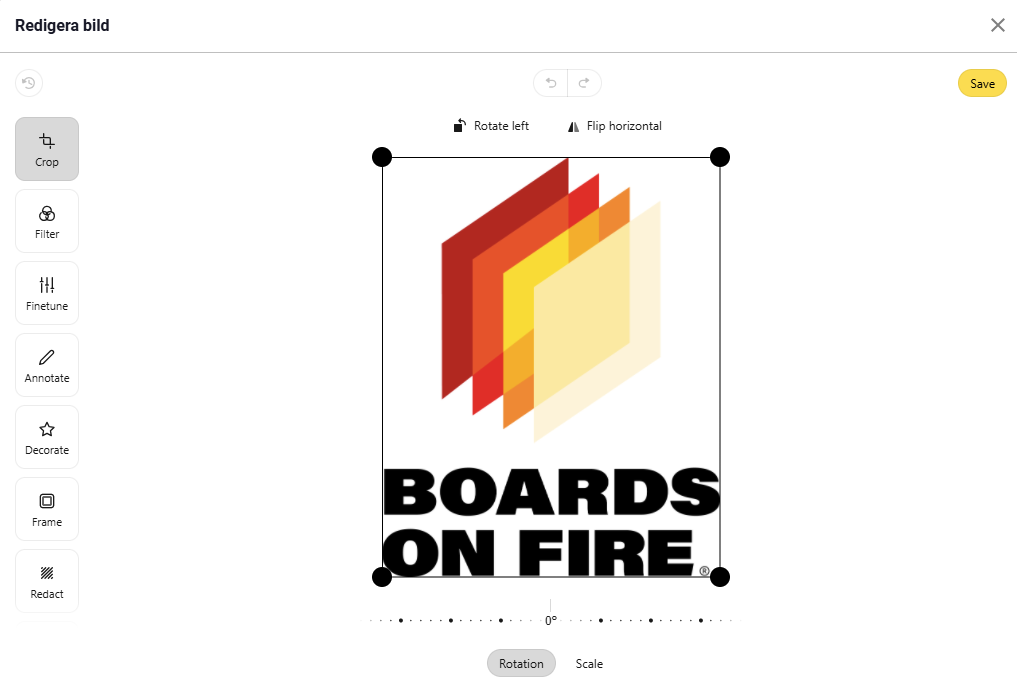
Preview and Edit
Once you have selected an image, you will enter a preview mode. Here, you can view your image and make any necessary adjustments, such as cropping, rotating, or modifying other settings to ensure it looks just the way you want.
Save and Upload the Image
When you're satisfied with your edits, click "Save". The image will then be added to the carousel. To finalize, click "Save" once more, and your image will now appear in the carousel.
With these simple steps, you can easily add and customize images to create a professional and engaging carousel!
Free web demo