

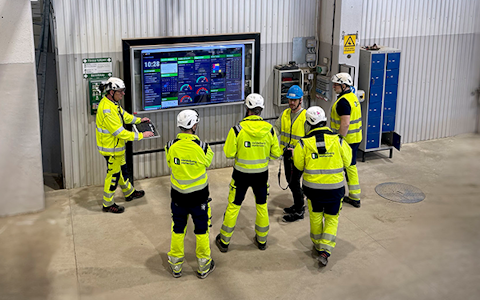
Digital dashboards that help you identify deviations and make the right decisions.

Capture your deviations and turn them into improvements
Continuous improvement, Kaizen boards, PDCA and other tools.
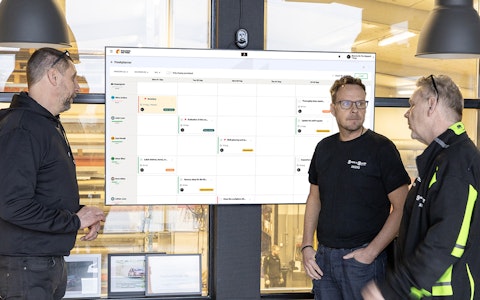
All your team’s tasks, neatly organized in one weekly view.
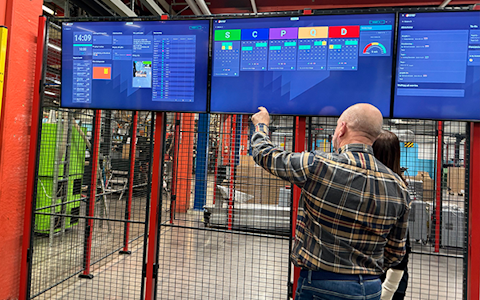
Improve key performance indicators within your specific focus areas with our SQCDP board.
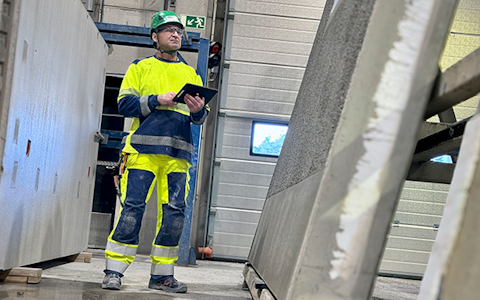
Use the PDCA cycle as a tool to improve both quality and processes
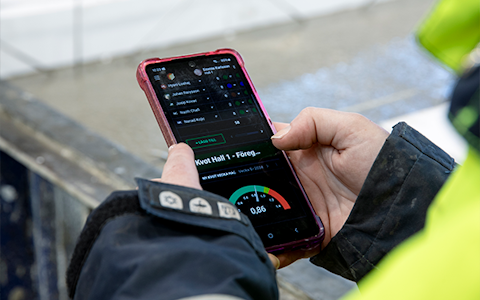
Digital tools for 5S work, recurring audits, and a well-organized workplace.
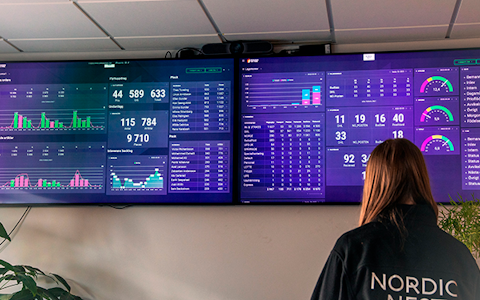
Visualize KPIs and communicate effectively throughout the entire organization.
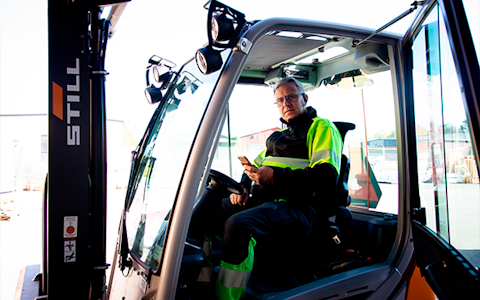
Basic project management and activity boards.
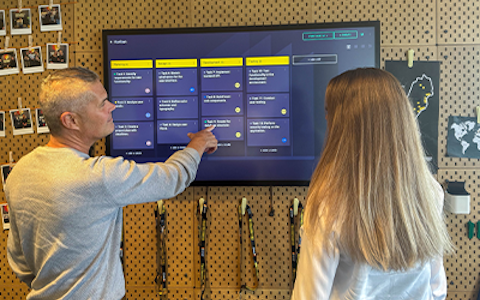
Kanban is a powerful method for visualizing, managing, and optimizing workflows.

Digital dashboards for takt time flow with takt time counter and stop time log.
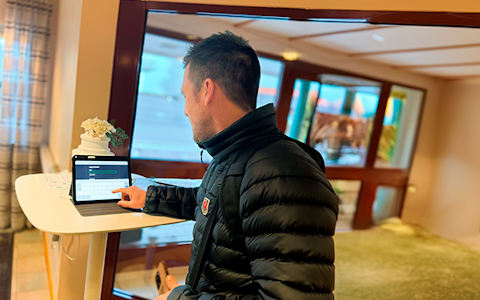
Digital visitor registration provides full control over all planned and executed visits to your business.
The visits module in Boards on Fire gives you a smooth way to register, handle and follow up visitors in the workplace. It gives a clear overview of who your visitiors are and contributes to a safer working environment.
The module fits good when you want to:
You can
The visitor module consists of three parts:
To use our visitor module you first have to add a visitor centre.
 |
 |
Name your visitor centre something clear and descriptive, e.g "Reception", "Entrence East" or similar. Having several visitor centres is primarily for customers which have more than one site in it's environment, or a site with different visitor areas.
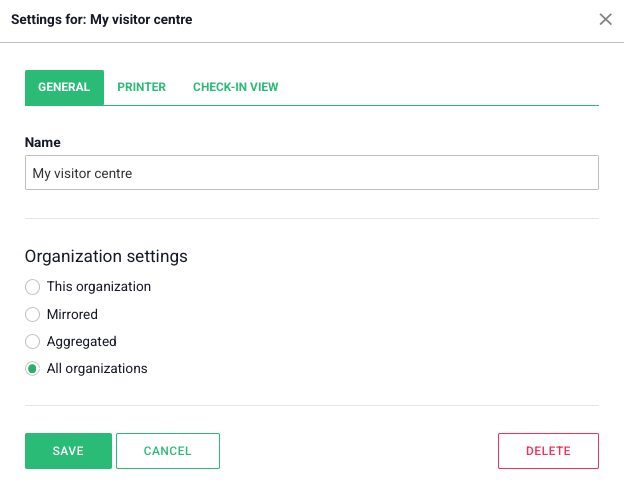
Go to settings and choose of the organization you eminate from should aggregate information from one or more organizations. Often you want to see all the visitors in the check-in view regardless of which organization they are registered to, thus the standard selection is "all organizations".
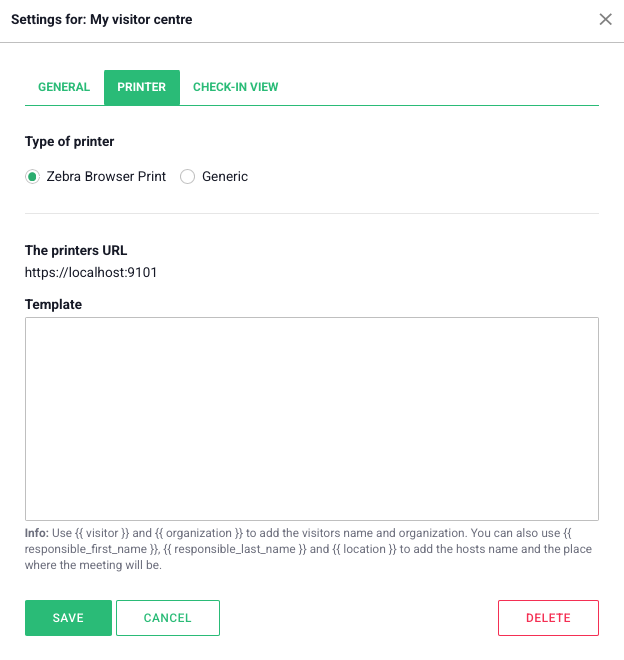
Under the tab Printer you can connect a label-printer to easily print visitor tags. Here you can also upload a template which determines how the visitor tags should look when printed.
Under the tab Check-In View you first add a welcome header, here you can also display your logo. You can also choose whether you want a forced checkbox with information the visitor has to agree to before check in.
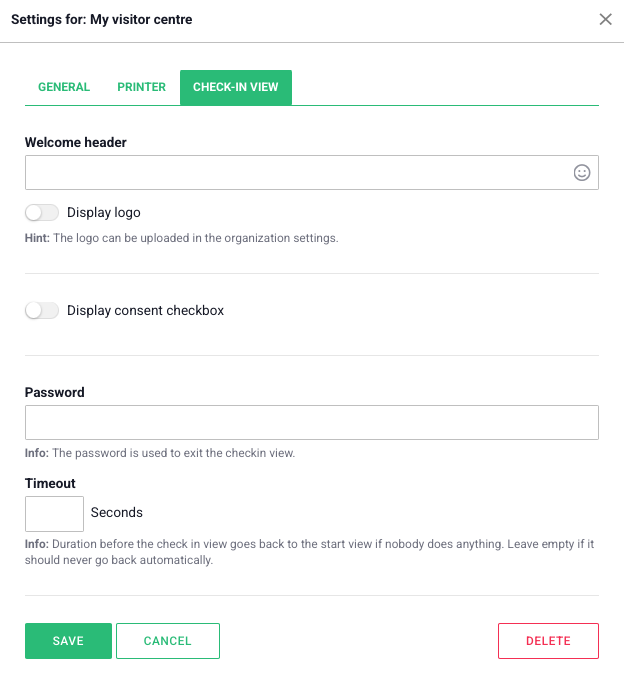
You can also add a password, which then is needed to leave the Check-in View. This becomes useful in the places where visitors check in and aren't supposed to do something else with the PC or tablet.
The last step before the visitor centre is ready for use is to choose the timeout-duration. This is the time it takes for the check-in view to go back to the starting view if someone doesn't enter something.
|
To manually register a visitor in Boards on Fire, click "Add Visit" and complete the information in the form that appears. Start by entering the visitor's name and the organization they represent. Next, select the visit's start and end time—the system will automatically calculate the duration. The next step is to select an internal host, meaning the person who will receive the visitor. Under "Our Organization", you can see which organization in Boards on Fire the visit will be registered under. In the Location field, you can enter information such as "Reception", "Conference Room A", or any other relevant location. Please note that the host will receive an email notification as soon as the visitor has checked in and arrived. If you do not want the visit to be visible to other users, mark it as private by turning off the visibility toggle. In the Notes field, you can add any additional information, such as the purpose of the visit, special instructions, or anything else that may be important to know. Further down in the form, select the visitor center the visit belongs to, for example "Reception". You can also indicate whether the visitor has arrived or left the premises. Once all the information has been entered, click "Create" to save the visit. This provides a simple and convenient way to manually register visits in the system, making it ideal for both scheduled meetings and spontaneous drop-in visits. |
 |
When we've registered a visitor we can move to the check-in view. You can find it in the side-menu.
 |
 |
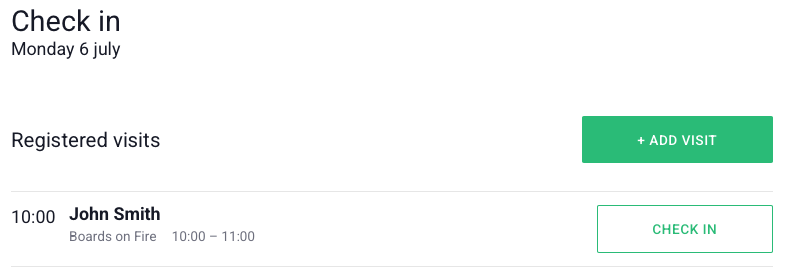
It shows a simple check in/out view and works as previously mentioned perfectly for visitor registration on a tablet or PC in your reception or arrival area. When we click on "check in" we can see the visitor we previously registered, and out visitor can easily check in with a click.
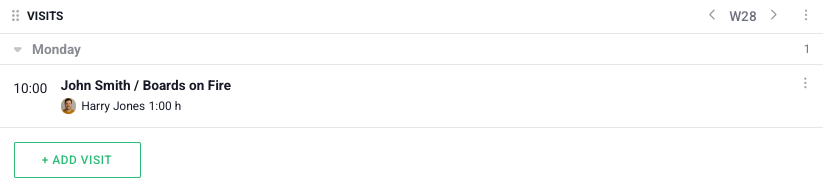
The third and last part in the visitor module is the visits component. It can as other components be used in Dashboards. This is a clear way to let your employees know which visitors you have during the day or week and makes information accessible to all.
Give the component a name and choose the visitor centre in which you register your visitors. If you only want to see the visits belonging to a team/department you can choose to only show "this organization". Otherwise you can choose all or a selection of organizations.
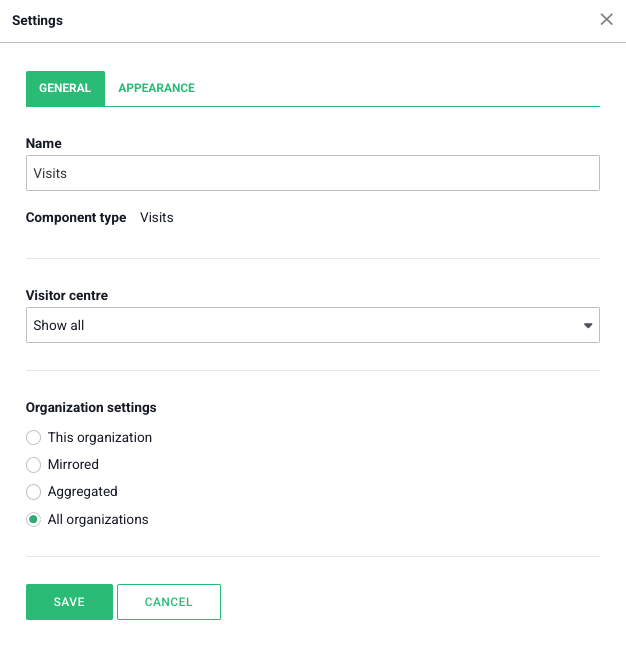
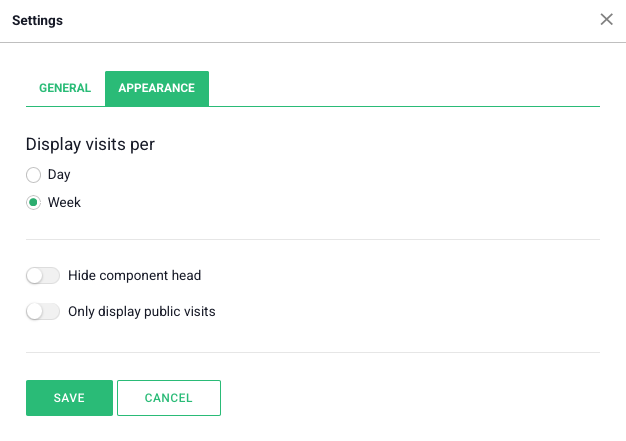
Under the tab Appearance you choose whether you want to see the visits daily or weekly. You can also choose if only public visits shall be shown.
The visits module gives you an easy and clear way to handle visits in the workplace - from registration to check-in and overview. With support for several visitor centres, customized apperances and notifications it becomes easy to know who is where.
Free web demo