
Digital dashboards that help you identify deviations and make the right decisions.

Capture your deviations and turn them into improvements

Continuous improvement, Kaizen boards, PDCA and other tools.
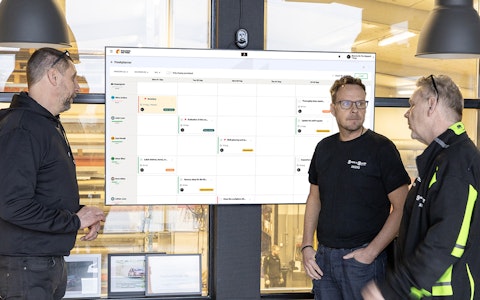
All your team’s tasks, neatly organized in one weekly view.
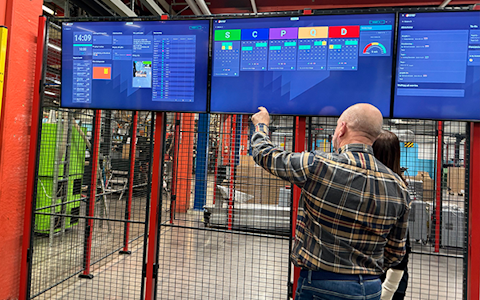
Improve key performance indicators within your specific focus areas with our SQCDP board.

Use the PDCA cycle as a tool to improve both quality and processes
Digital tools for 5S work, recurring audits, and a well-organized workplace.
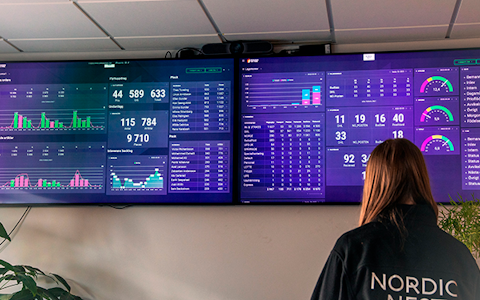
Visualize KPIs and communicate effectively throughout the entire organization.

Basic project management and activity boards.
Kanban is a powerful method for visualizing, managing, and optimizing workflows.

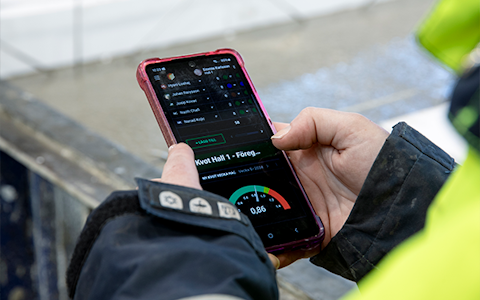
Digital dashboards for takt time flow with takt time counter and stop time log.

Digital visitor registration provides full control over all planned and executed visits to your business.
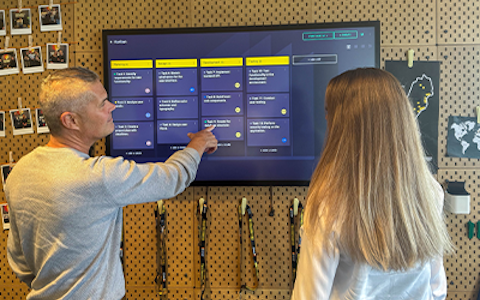
Week Planner In this video, we’ll show you how easy it is to get started with our Week planner feature in Boards on Fire. It’s a perfect tool to give your entire team clarity on what needs to be done, who’s responsible, and when tasks should be completed.
Weekplanner provides an overview calendar view where you can see all the days of the week and which tasks are assigned to each person. It’s perfect for planning, distributing, and following up on tasks within your team, and it also makes it easy to spot if something is delayed or marked as high priority.
Getting Started
To create a Week planner, go to the organization where you want it set up. Then add an Activity Board and select the option Week planner.
Users who have the selected organization as their home organization will automatically appear in the weekly planner. If you want to remove or add users, you can easily do so by clicking the settings button in the top right corner. Here you can:
If you want to work with colors in the Week planner to create a more Gantt-like view, you can activate the “colored card backgrounds” feature
You can also create more space in your calendar by compressing the task list. You decide at how many tasks the list should start compressing.
Under the “USERS” tab, you can easily remove or add more users, both within and outside the home organization.
Have you made changes and want to include all users in the home organization? You can quickly do that here as well.
Under the user list, you can also choose how users are displayed in the calendar:
Adding a Task
To add a new task, click “Add” in the top right corner. Then choose whether you want to add a task or a series.
In the task card, fill in the following:
If you want to add a series of tasks (recurring tasks), you can do so by creating a task series.
Click “Add Series” and enter a suitable title and description.
Then choose a start date and end date for the task. Once that’s done, select the interval for how often the series should repeat.
You can easily move tasks between different users and days using drag & drop.
If you want to display only prioritized tasks, there is a filter for this next to the week navigator.
In the task form, you can see where the task originates from and who created it.
If a task is not completed by its due date, it will be marked red on the left. Once the task is completed, the color changes to green.
If a task spans several days outside the current week, an arrow symbol will appear on the far left or right of the task card. The arrow indicates that the task extends over a longer period of time.
In the bottom right corner, you get an overview of your week planner, including the total number of tasks and how many are marked as done.
If there are tasks that were uncompleted from the previous week, a yellow banner will appear above the week planner, indicating the number of uncompleted tasks. Clicking the banner will display these tasks, where you can view their title, start and end dates, status, whether they are part of a task series, who they are assigned to, and their origin. You can update the status directly, or click on the task cards to see more details and make additional changes.
By clicking the three dots on a task, you can edit it, mark it as prioritized, create a deviation or improvement, or delete it.
Using the “Move all tasks” feature, you can quickly move all your incomplete tasks to today or to No date, keeping your planner organized and up to date.
A smart feature is that tasks follow the person. If you assign a task to someone in Department 1’s week planner, it will also appear in Department 2’s week planner, as long as that user is included there as well.
Your week planner is now ready to use! With this view, you get a clear overview of the week and can easily plan, distribute, and follow up on work within your team.
Free web demo