
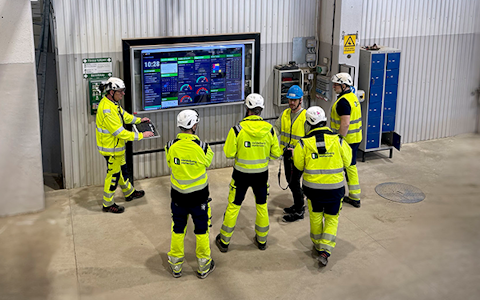
Digital dashboards that help you identify deviations and make the right decisions.
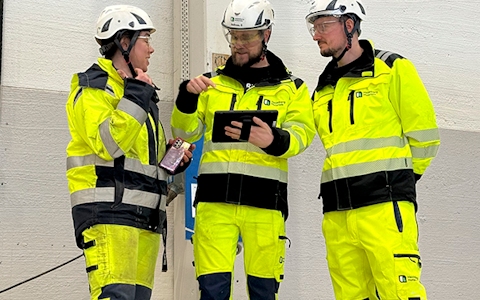
Continuous improvement, Kaizen boards, PDCA and other tools.

Capture your deviations and turn them into improvements

Real-time control for takt-based production. Detect disruptions as they happen, respond faster, and keep production on pace.

Integrate Boards on Fire with ERP, MES, OEE, Power BI and other systems. Automate data flows, reduce administration and act faster.
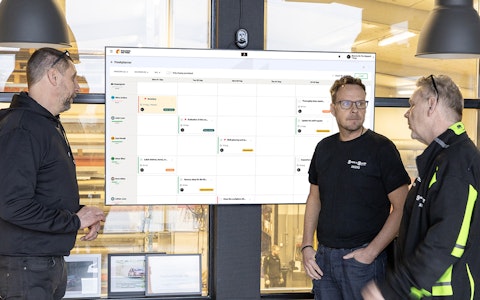
All your team’s tasks, neatly organized in one weekly view.
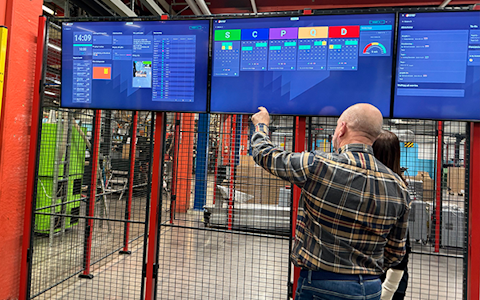
Improve key performance indicators within your specific focus areas with our SQCDP board.

Use the PDCA cycle as a tool to improve both quality and processes
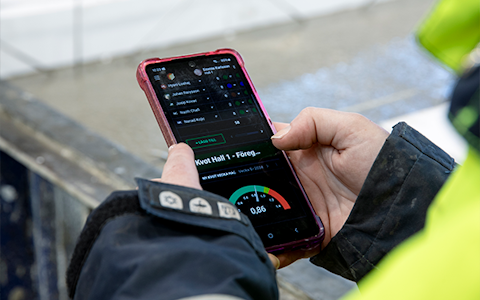
Digital tools for 5S work, recurring audits, and a well-organized workplace.

Basic project management and activity boards.
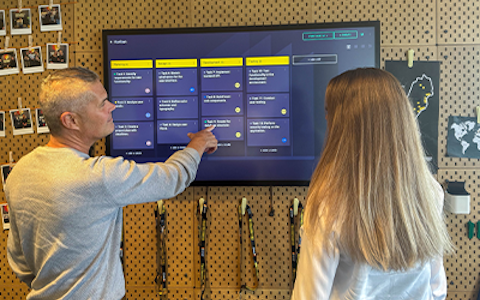
Kanban is a powerful method for visualizing, managing, and optimizing workflows.
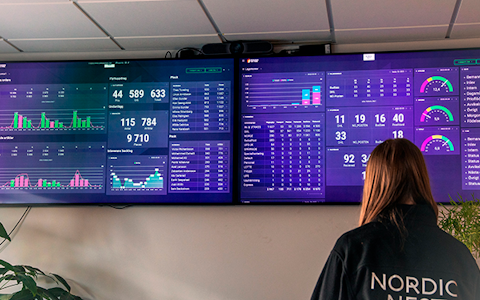
Visualize KPIs and communicate effectively throughout the entire organization.
Digital visitor registration provides full control over all planned and executed visits to your business.
Paced production in Boards on Fire makes it easier to manage your production flow, while providing increased clarity for the people on the shop floor.
In order to use the module, you first need to create a Work Schema in the BoF-organization. You can do that under the tab "Work Schemas" in the sidebar.
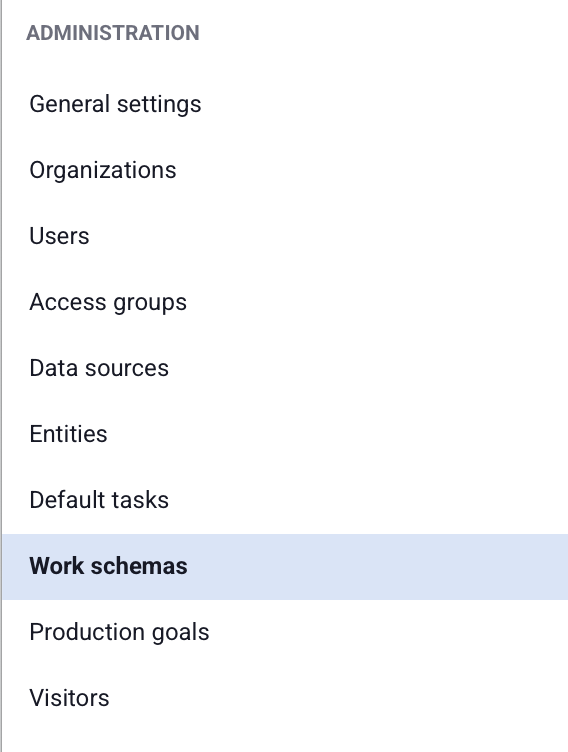
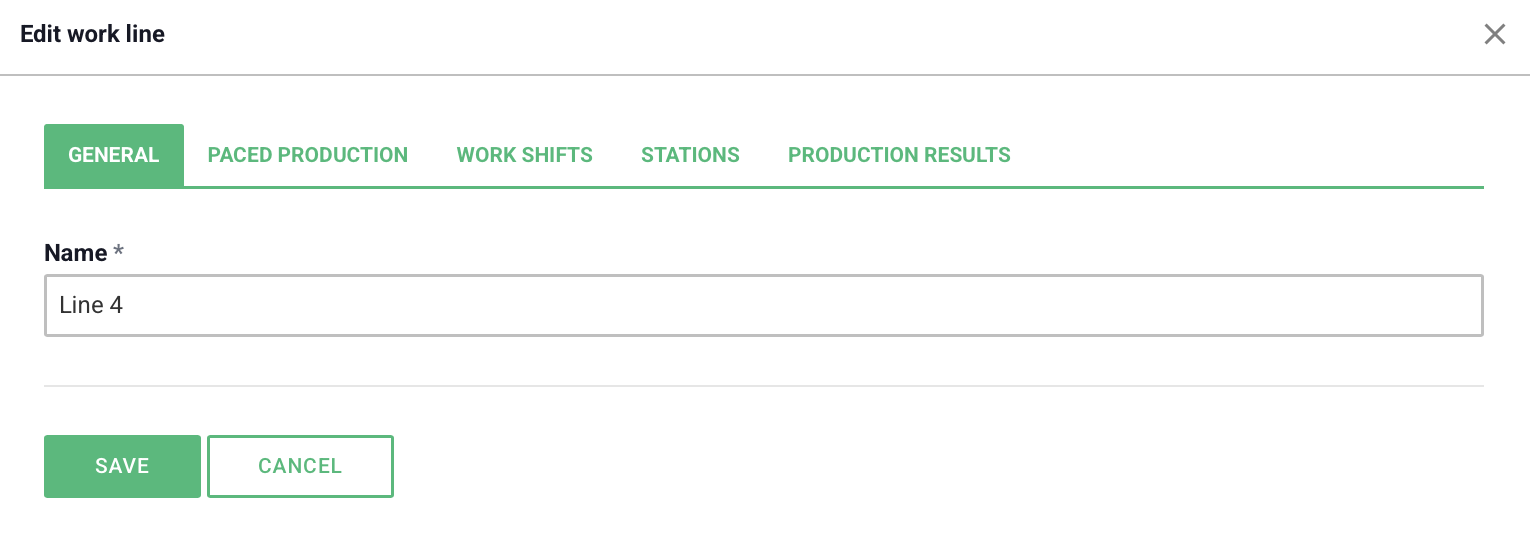
When in the menu, clock on "Add Work line" and begin by giving it a name.
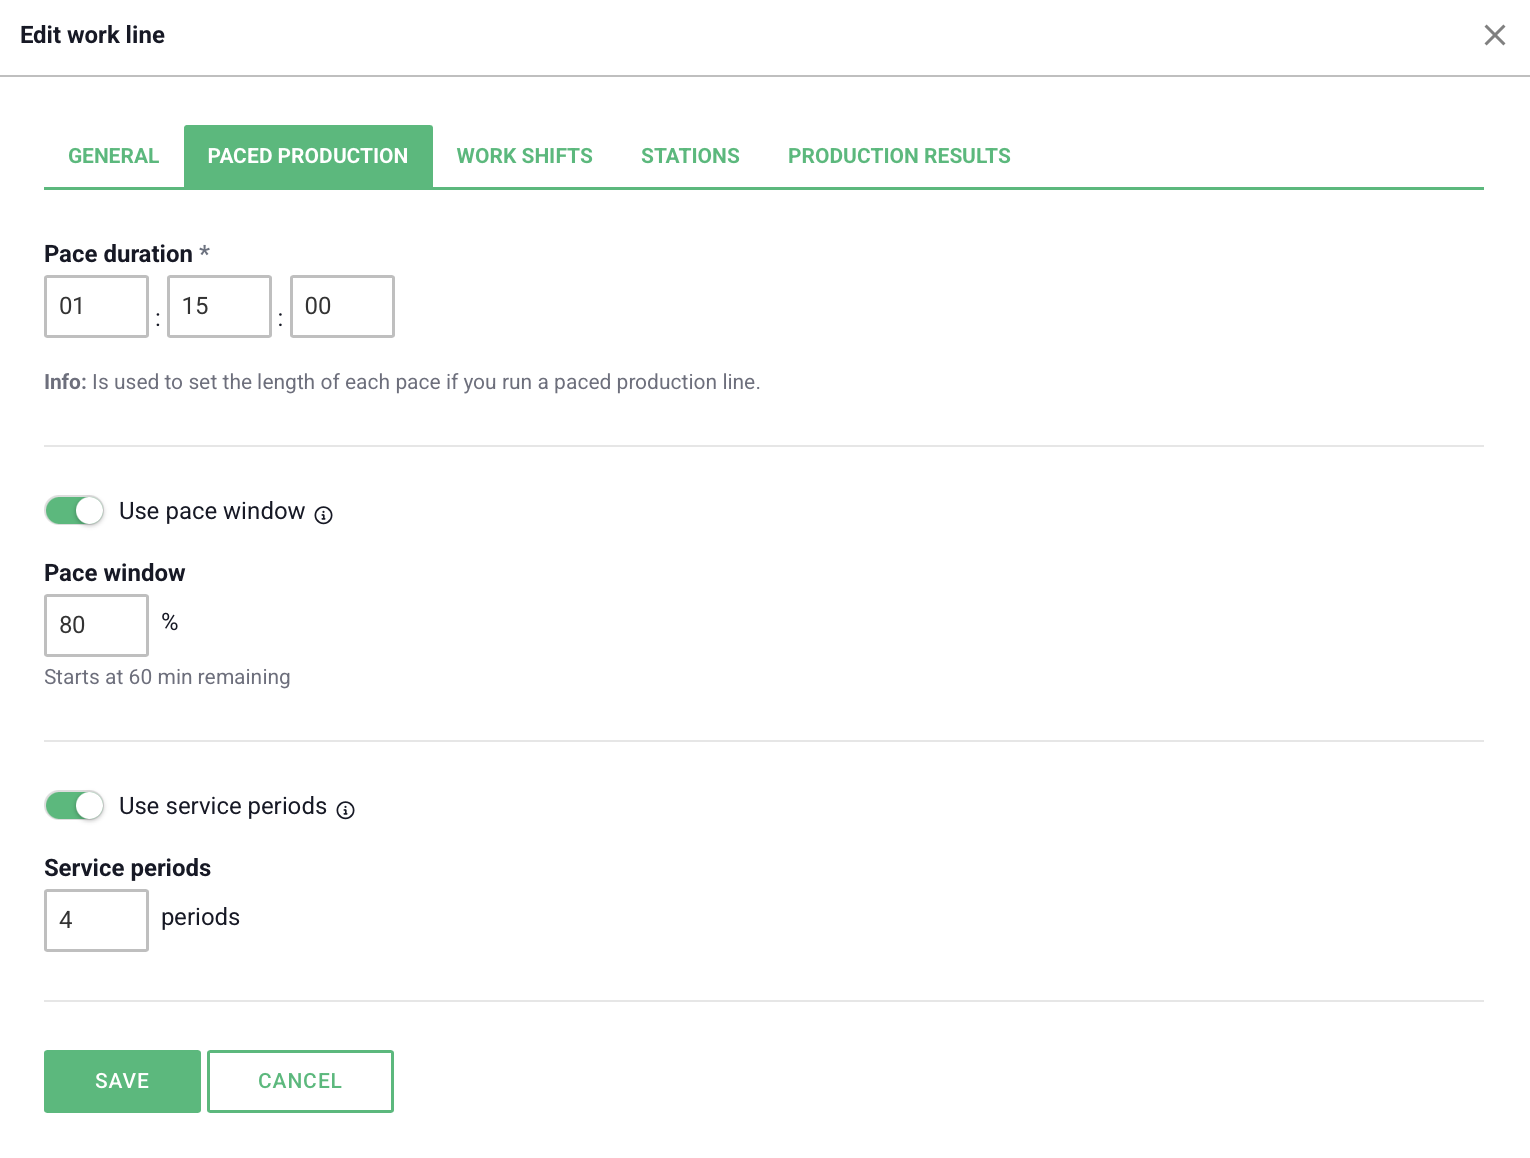
Then, choose your pace duration and whether you want to split it into service periods or have a pace window.
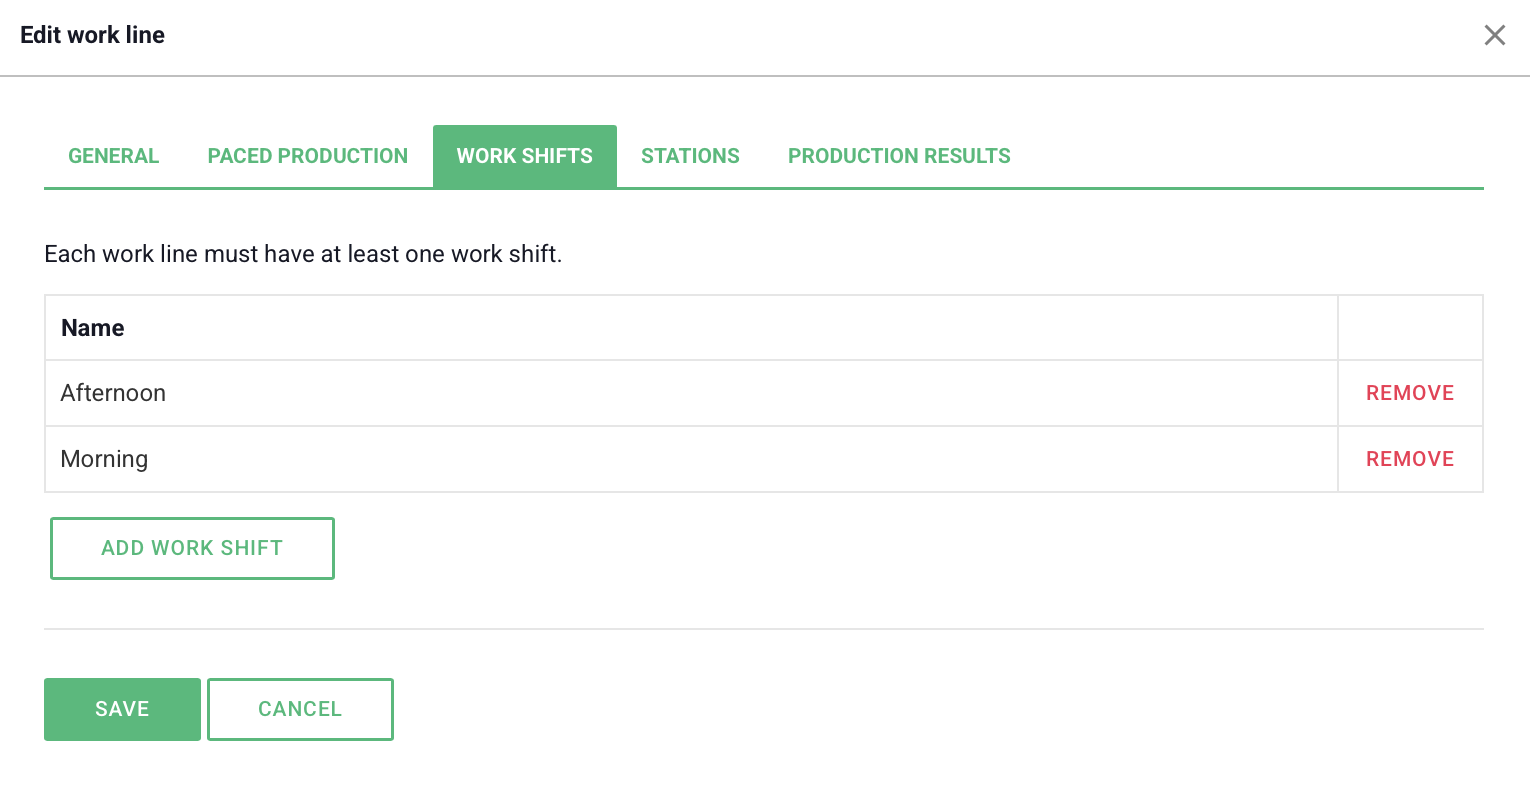
Under the "Work Shifts" tab, you select how many shifts your production line has.
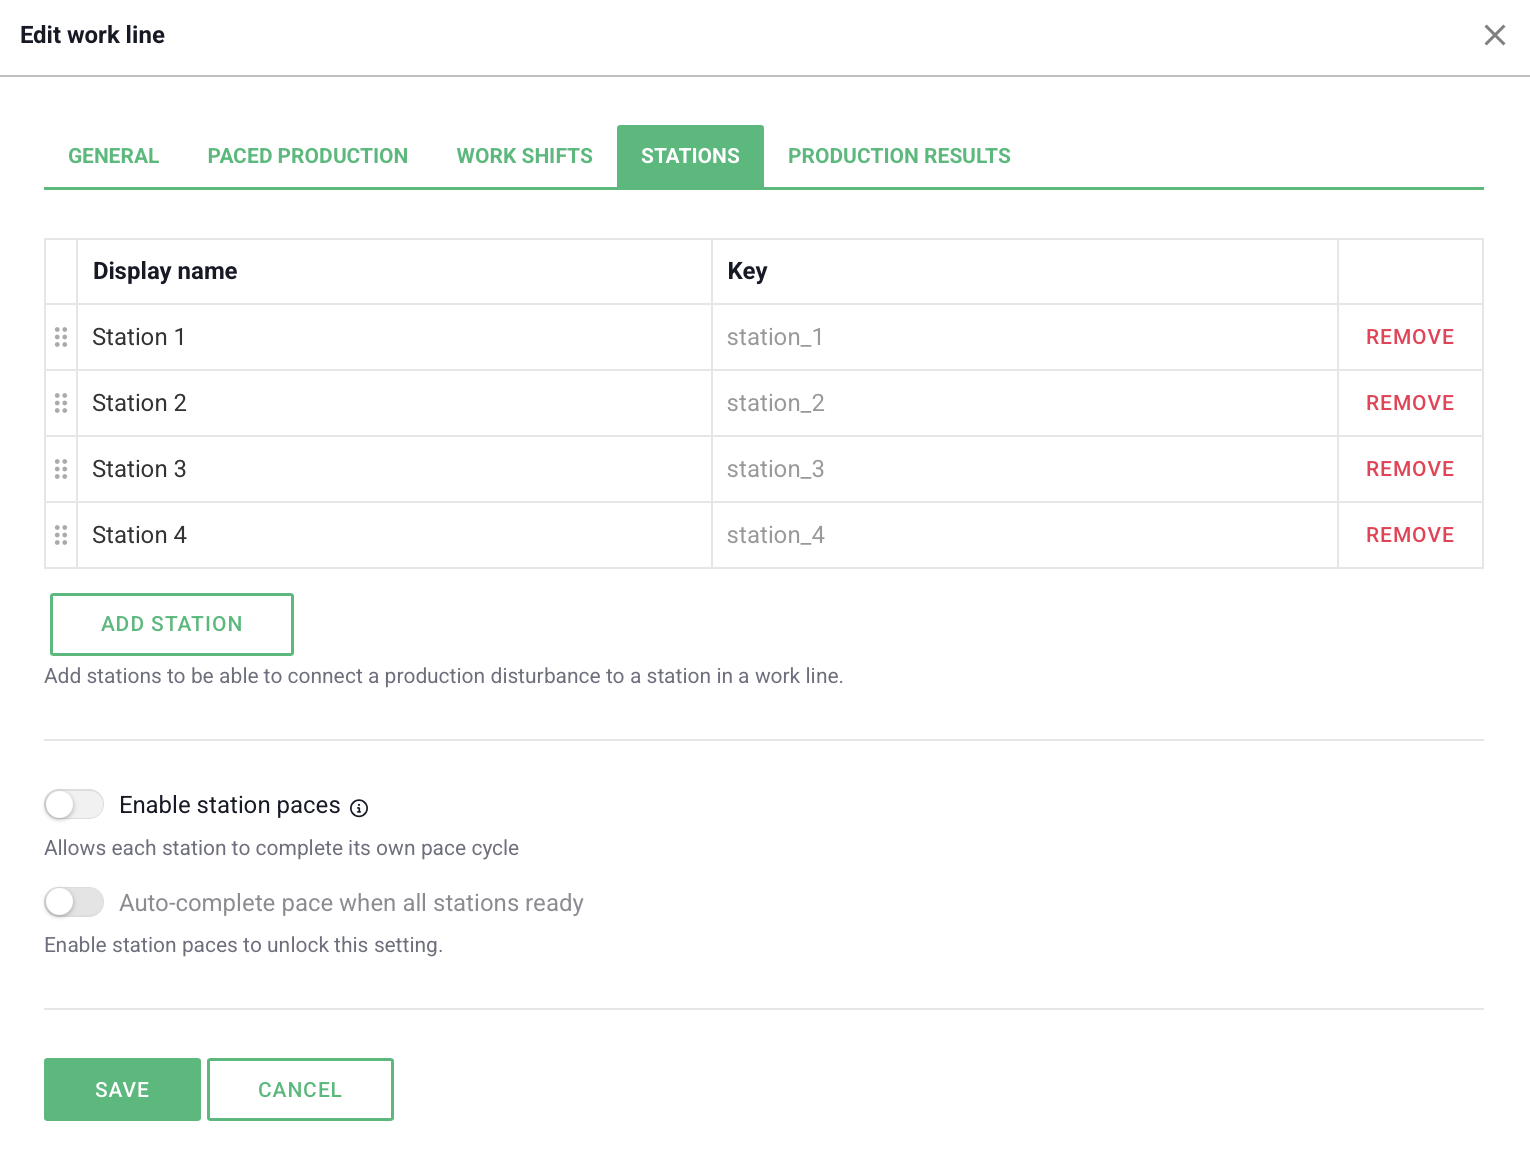
Under the "Stations" tab, you add the stations your production line consists of. You can also enable station pacing and choose whether the pace should complete when all stations are finished.
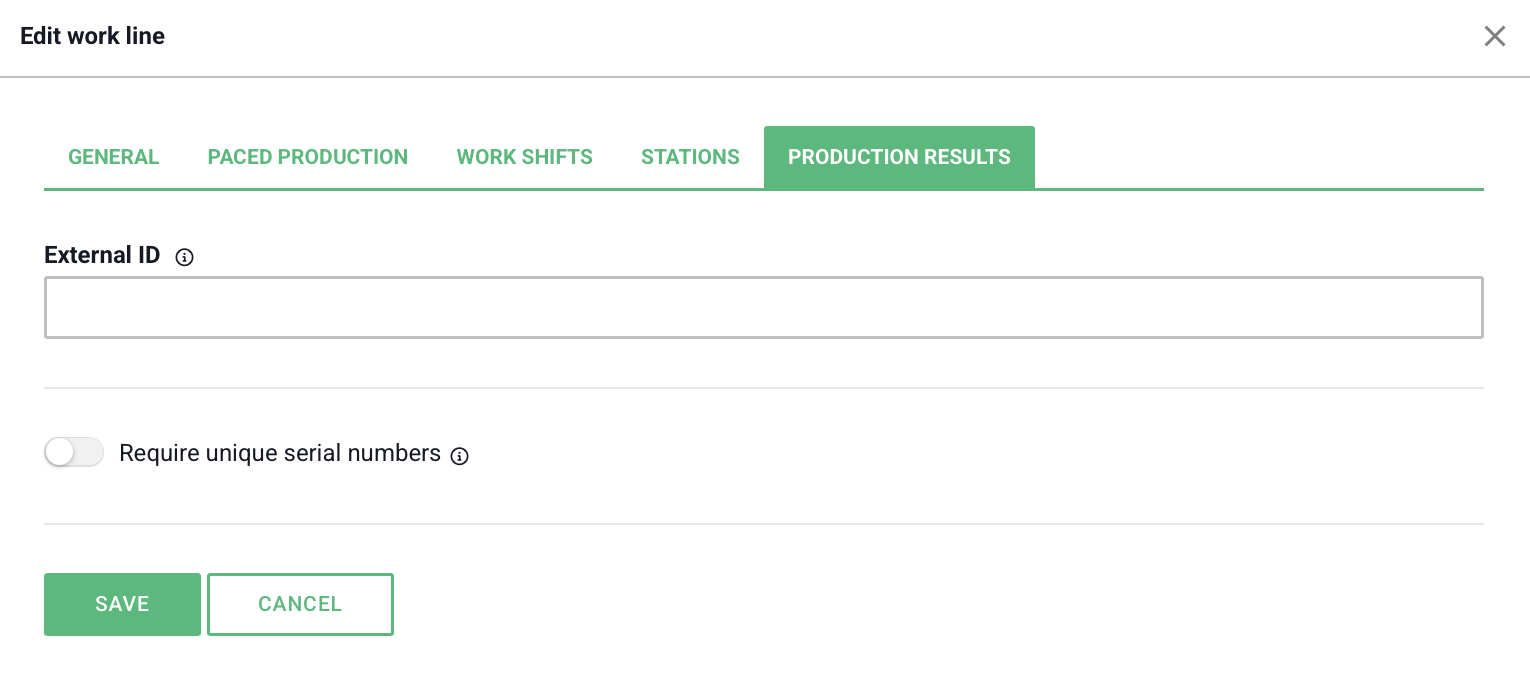
Under the "Production Results" tab, you can add an External ID, which through integrations can show how production is progressing for the line.
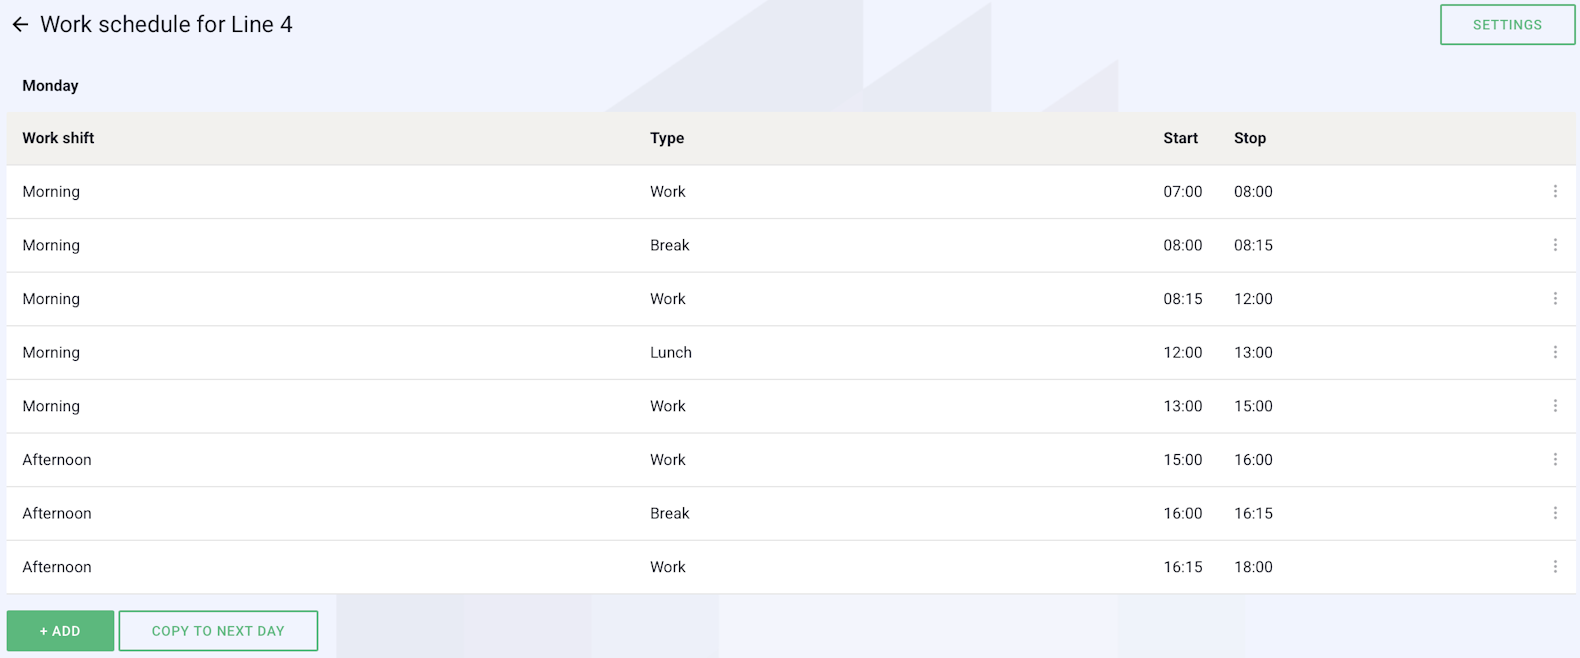
Once you have selected your settings and clicked "Add", you will be able to choose the times each shift starts. Here you can also add breaks to the schedule. You can easily copy the times to the next day if they are the same.
After creating your work schedule, you can start using the components linked to the module.
Once you have added the production pace component, you can go to the settings under the "General" tab to give the component a name, select which station it should display, and choose whether a user can start/stop the pace.
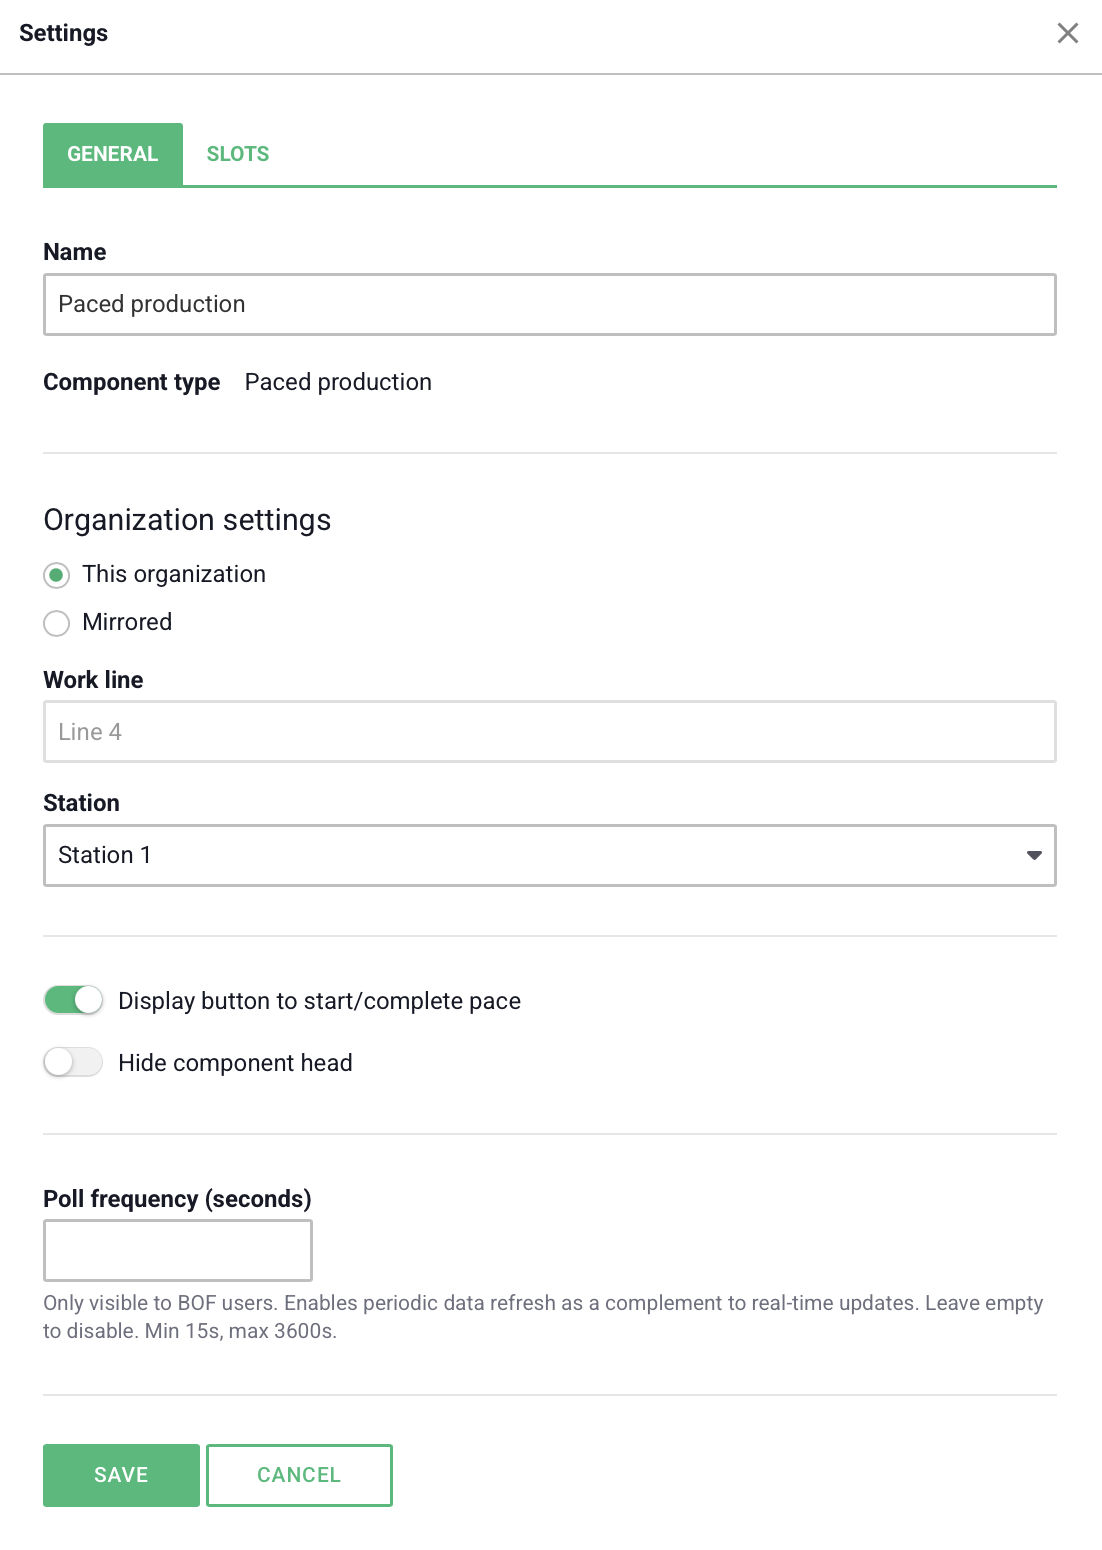
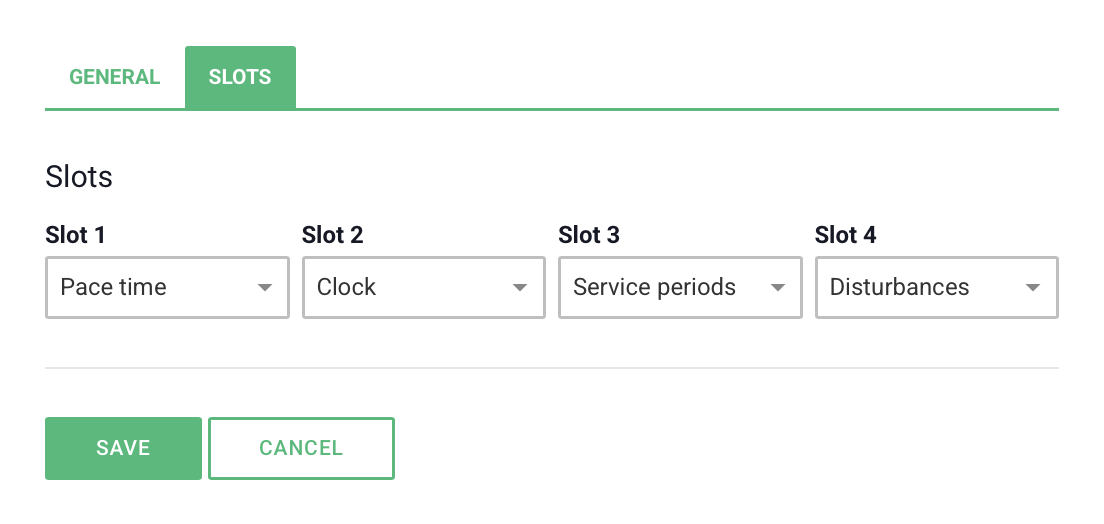
Under the "Slots" tab, you choose where on the component different types of information should be displayed. The different options are:
Pace time – How long each pace/cycle is
Disturbances – Total downtime during the pace
Service periods – Which service period the clock is currently in
Lead time – Time exceeding the takt time
Clock – Current time
Daily pace – Which pace of the day you are currently in
Weekly pace – Which pace of the week you are currently in
Once you have added a component of this type, you select which station it should be linked to.
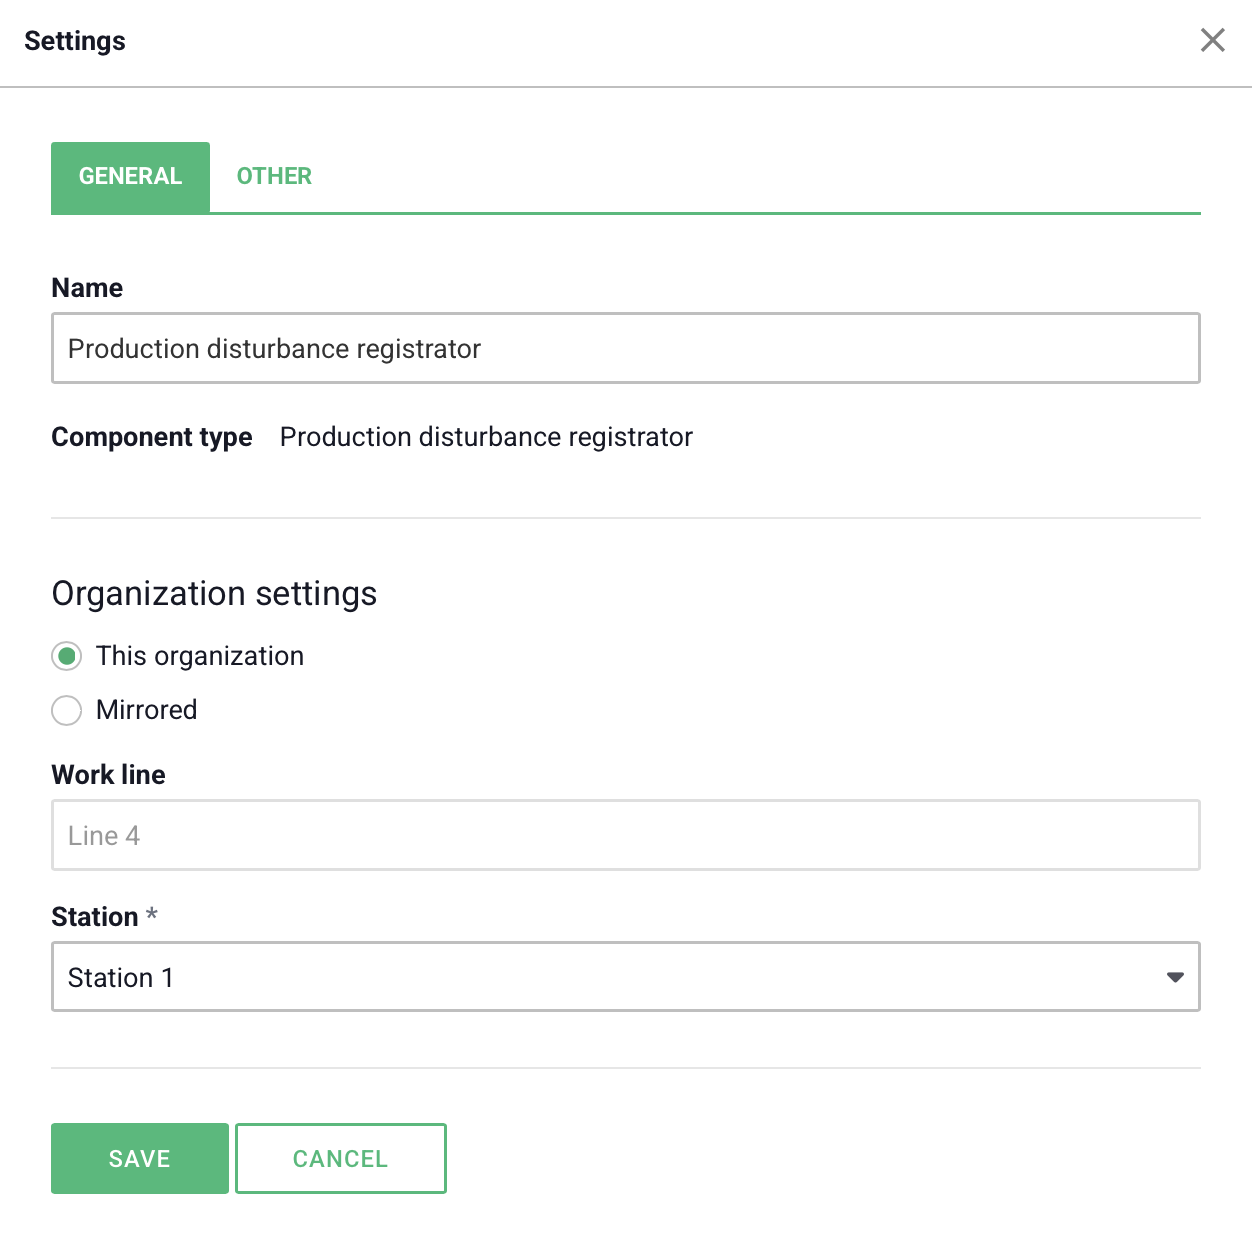
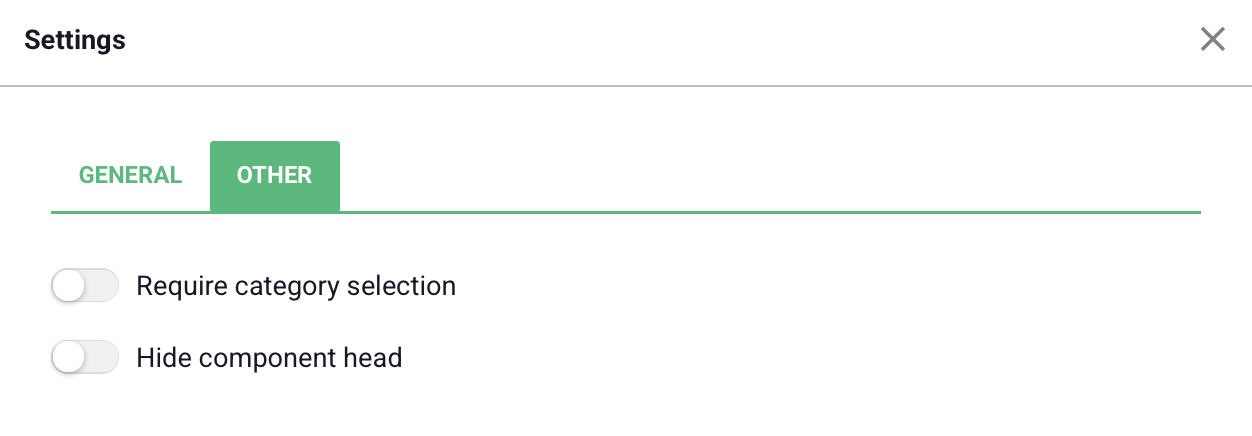
After that, you can also choose whether users are required to categorize their disturbance/issue.
When a user clicks "Register disturbance", the clock will change color, and the user will prompt to fill in information.
The disturbances can then be displayed in an entity component, provided you have selected the entity "production_disturbances" in the entity component settings.
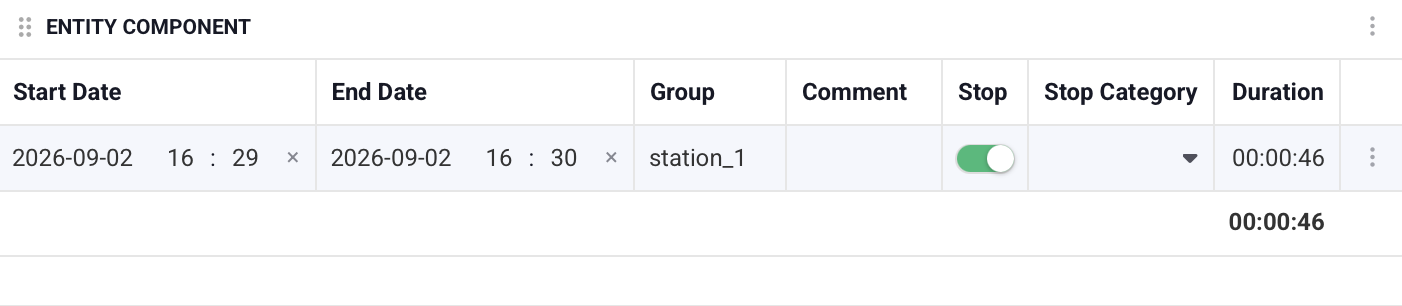
There are also additional entities with pace data that you can display. Just like with production disturbances, you select the relevant entity in an entity component to display the data.
bof_station_paces – Contains a list of all station paces
paced_production – Contains a list of all paces for the line
bof_andon – Contains a list of all Andon calls
You can also edit these entities by navigating to "Entities" in the side menu. More information about this can be found in our guide "Entities & Entity Components".
When you have added an Andon component, it needs to be linked to a station.
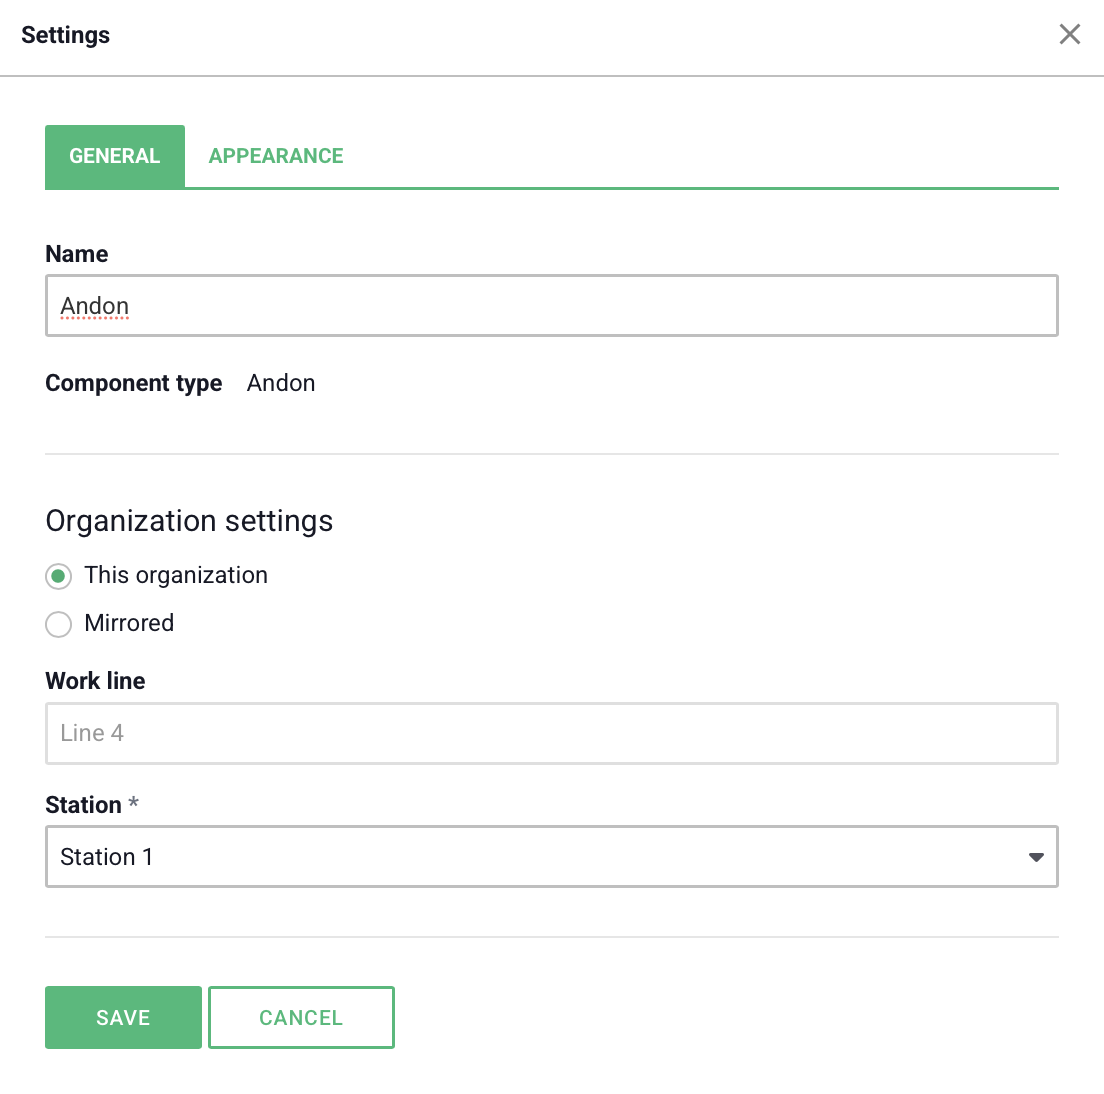
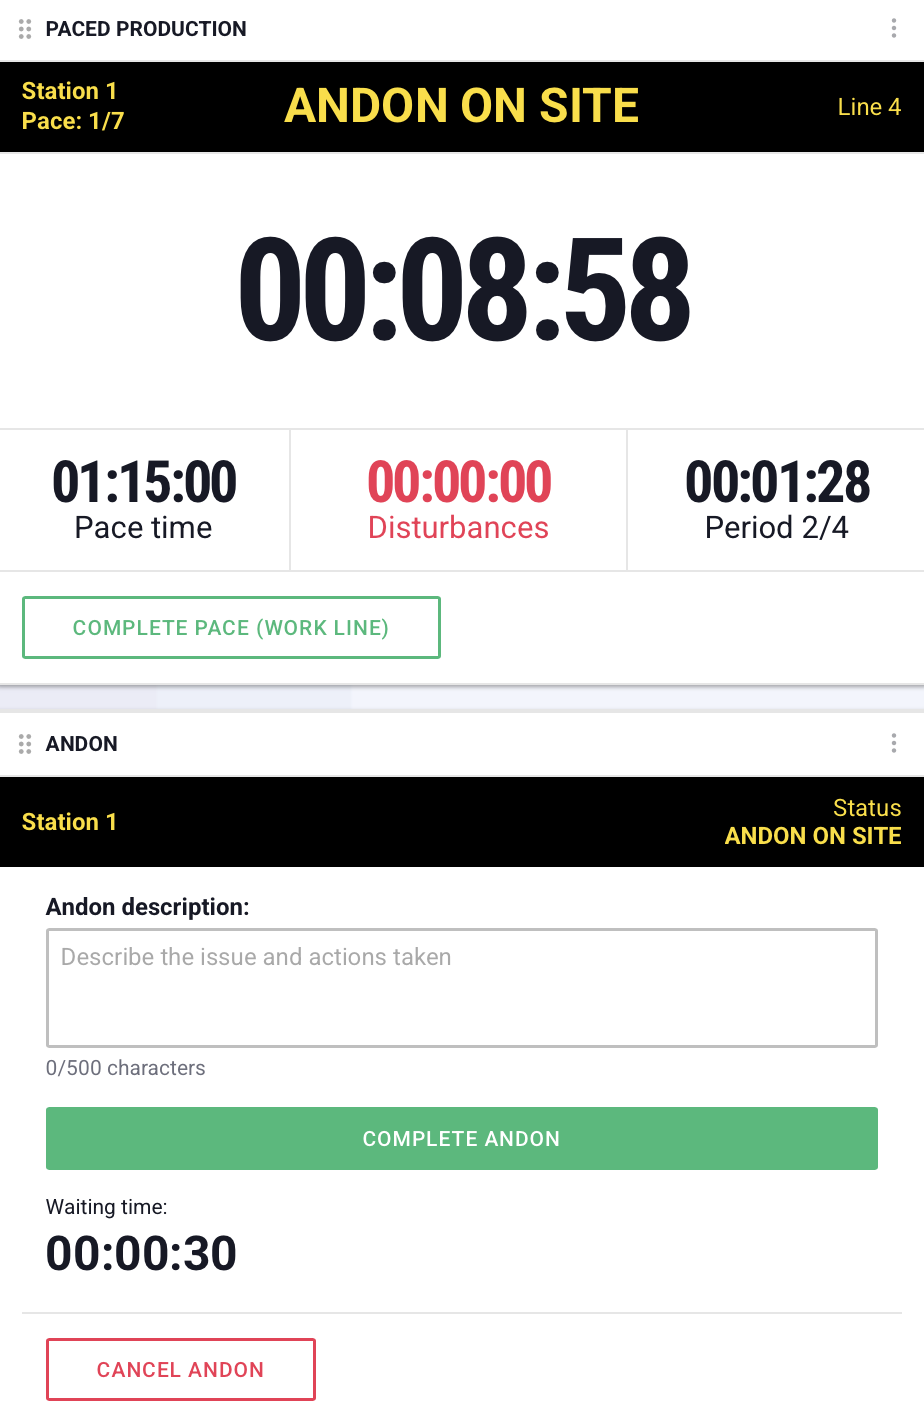
Once the component is set up, an operator can trigger an Andon call with the press of a button. Both the Andon component and the pace clock will then start flashing yellow and black.
When the Andon support arrives, they can click "Andon on site". The component will then stop flashing but remain lit in yellow/black. When the Andon task is completed, they can click "Finish Andon", which resets both the component and the pace clock.
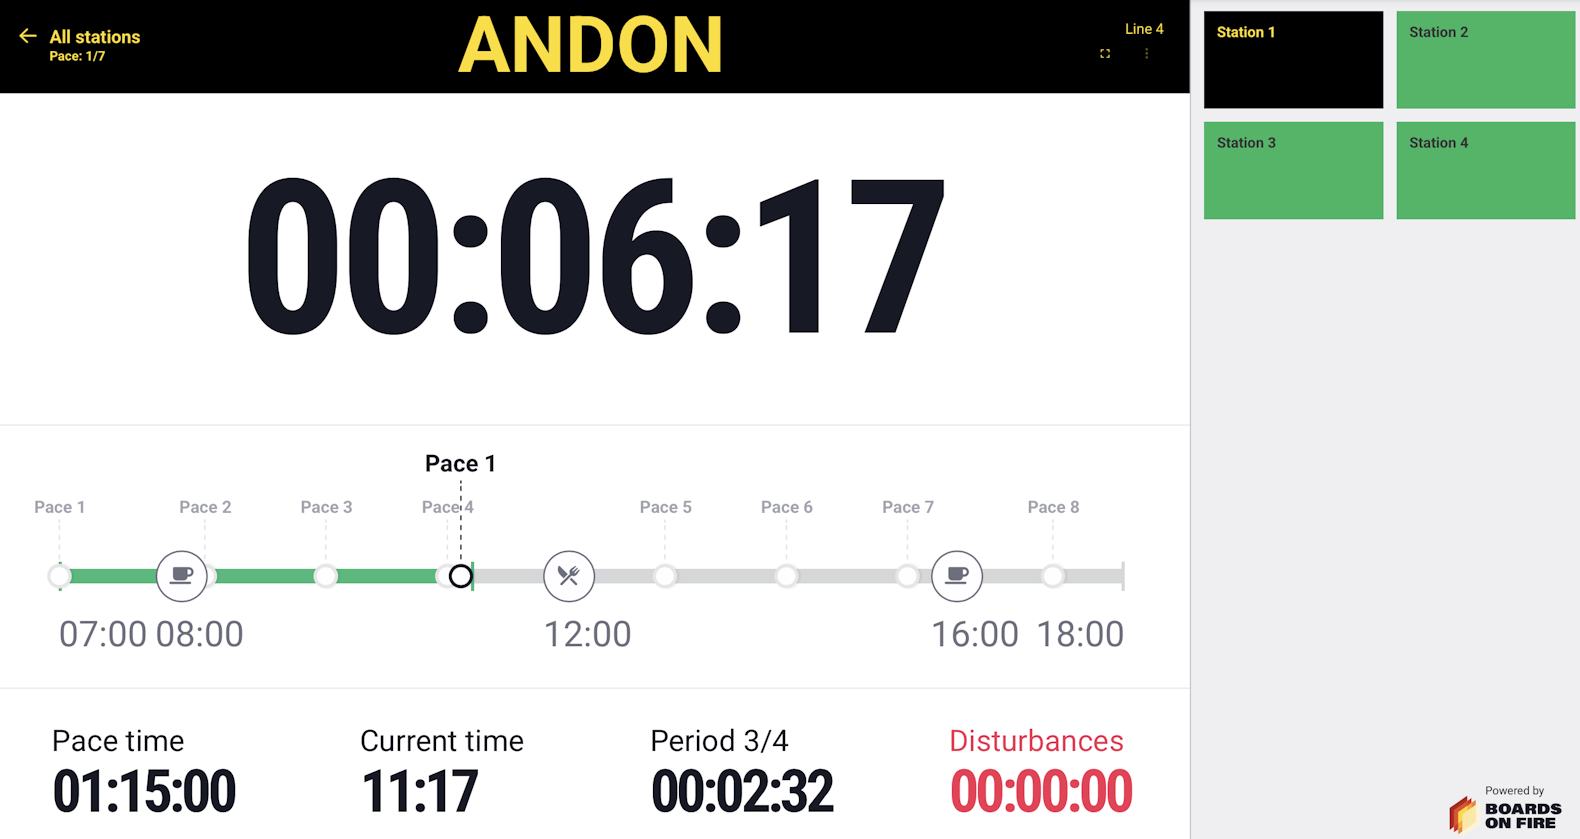
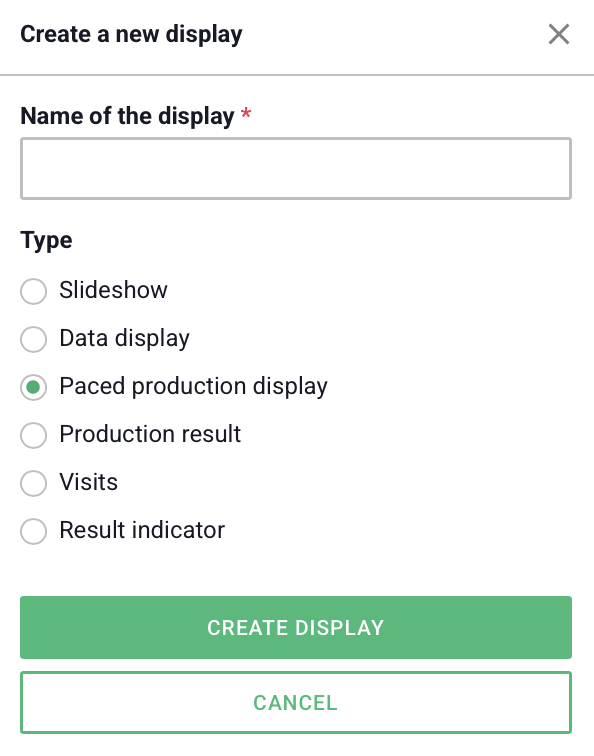
In addition to using various components, you can also display the pace using a display board. You do this by adding a new display board and selecting "Paced Production Board".
Next, you choose whether you want to display multiple stations or just a single one, as well as whether you want to show a timeline.
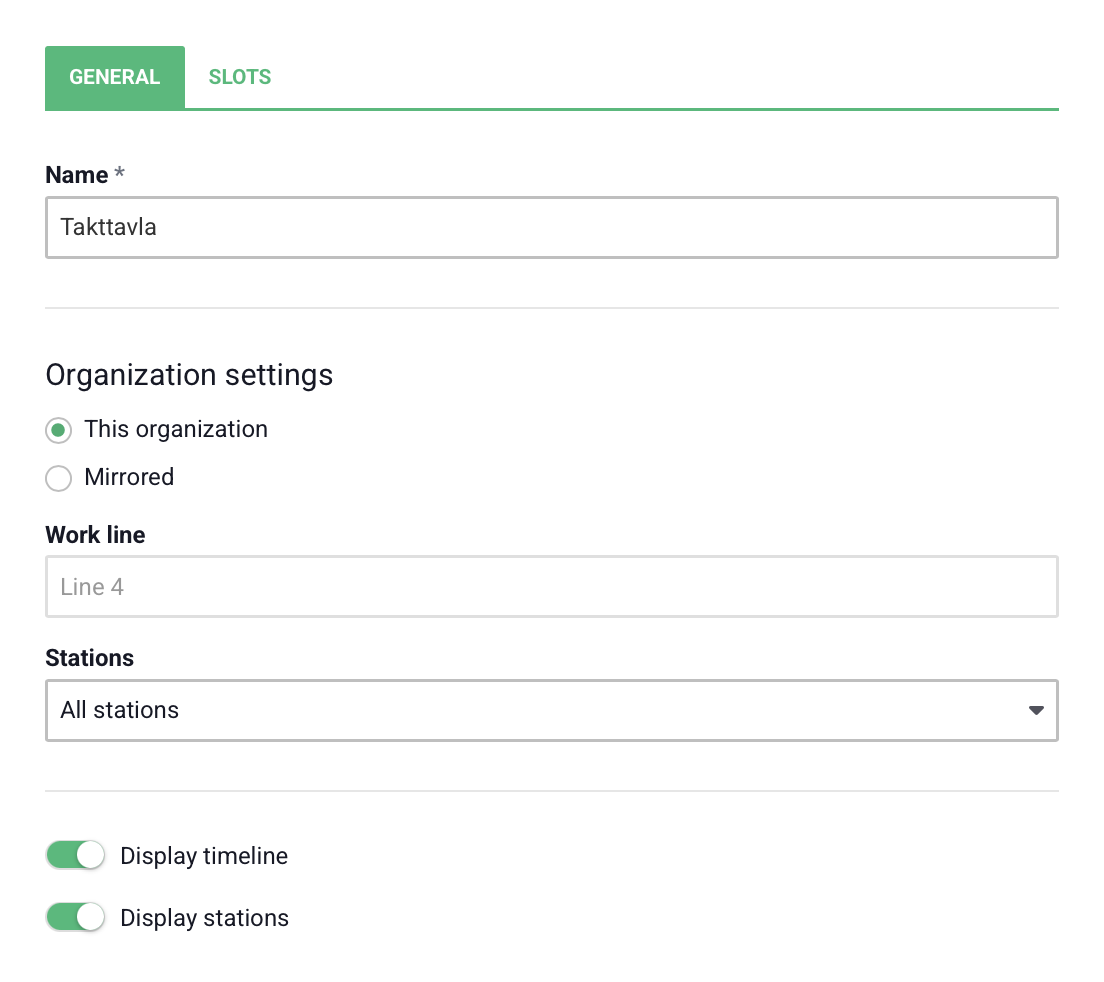
Similar to the "Production Pace" component, you can choose where on the board information should be displayed.
The pace board will then look like the image below. If a station experiences a disturbance or has triggered an Andon call, this will also be shown on the board.
Free web demo