
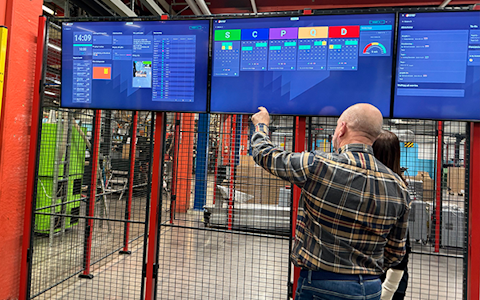
Digital dashboards that help you identify deviations and make the right decisions.

Capture your deviations and turn them into improvements

Continuous improvement, Kaizen boards, PDCA and other tools.
Improve key performance indicators within your specific focus areas with our SQCDP board.

Use the PDCA cycle as a tool to improve both quality and processes

Digital tools for 5S work, recurring audits, and a well-organized workplace.
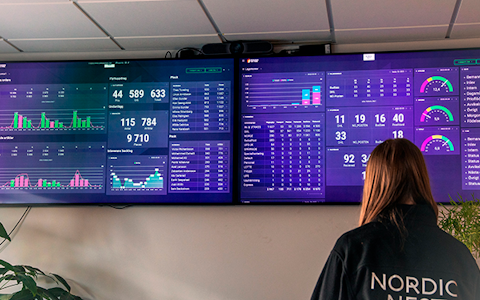
Visualize KPIs and communicate effectively throughout the entire organization.

Basic project management and activity boards.

Kanban is a powerful method for visualizing, managing, and optimizing workflows.

Digital dashboards for takt time flow with takt time counter and stop time log.

Digital visitor registration provides full control over all planned and executed visits to your business.
An entity is also a place where data is stored, but unlike a data source, entities are primarily used to display projects, staffing, and various types of lists. Entities are, for example, used in the entity component on overview boards and to create activity boards. To use these and other components that require an entity, you must first create one.
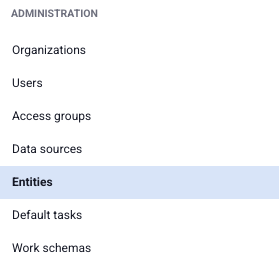
You will now see a list of all saved entities. To create a new entity, click the green “+ Add” button in the top-right corner. This will open the menu to configure your new entity.
Start by entering a name for the entity. The name you enter in the “Name” field must follow these rules:
The name you choose here is permanent and cannot be changed later, so choose it carefully.
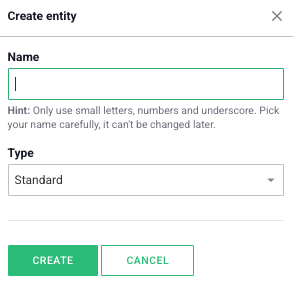
When creating a new entity, the first step is to choose the type of entity you want to create. The type you select may provide you with a ready-made template to simplify the process. For example, if you choose the “Project” type, the entity will already contain some predefined fields, making the setup easier. If you prefer to start with a completely blank entity to build from scratch, select the “Standard” type.
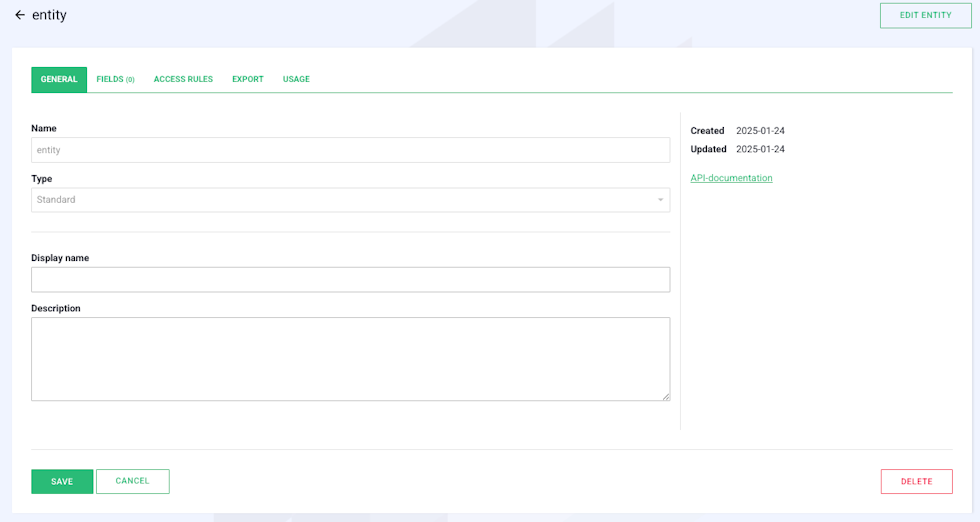
Next, you can enter a display name for your entity. This name will appear in lists of available entities. Enter the display name in the “Display Name” field. There are no restrictions here, so you can use any characters you like.
In the field below the display name, you can also write a description for the entity if you wish to add more information.
Now it’s time to add some fields to your entity. You can do this by going to the “Fields” tab in the entity’s settings. To add new fields, click on the green “Add Field” button located below the table.
When adding a new field, you’ll need to provide a key and a display name. The key follows the same rules as the “Name” field when creating the entity. However, there are no restrictions for the display name.
After naming your field, you’ll select its data type. This can be done in the drop-down menu under the “Data Type” heading on the far right of the field.
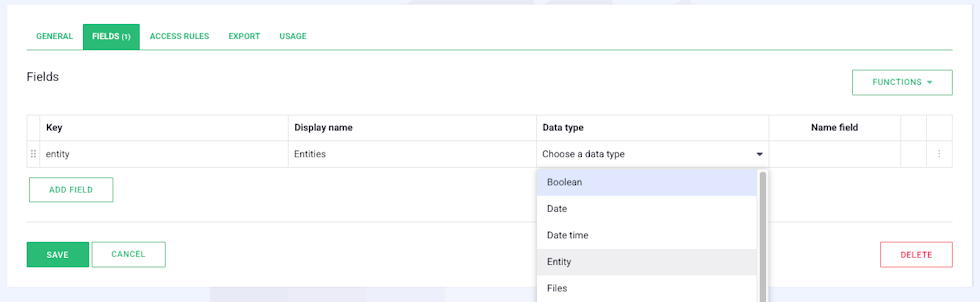
Data Types and Their Uses
String: Only shorter text can be stored in the field.
Number: Only numerical values are allowed in the field.
Boolean: Only true/false values can be stored. It is visualized as a button that can be toggled on or off in the board.
Date: Only dates can be stored.
Datetime: Only a date and a specific time on the selected day can be stored.
User: Only one selected user can be stored. This is used to link a user from the organization to the field via a form.
Status: Only a status (gray, green, blue, yellow, or red) can be stored.
Text: Only text can be stored, with more space to write than a string.
Richtext: Only text can be stored, with even more space and formatting options compared to both string and text.
Todo list: Only a to-do list can be stored. The field appears as a list where you can create and check off tasks directly in the component.
Create a simple entity: By clicking on the “Create a simple entity” option, you can create a basic entity. This serves as a simple list where you can name the rows as needed.
Free web demo