
Digital dashboards that help you identify deviations and make the right decisions.

Capture your deviations and turn them into improvements

Continuous improvement, Kaizen boards, PDCA and other tools.
All your team’s tasks, neatly organized in one weekly view.

Improve key performance indicators within your specific focus areas with our SQCDP board.

Use the PDCA cycle as a tool to improve both quality and processes

Digital tools for 5S work, recurring audits, and a well-organized workplace.

Visualize KPIs and communicate effectively throughout the entire organization.

Basic project management and activity boards.

Kanban is a powerful method for visualizing, managing, and optimizing workflows.

Digital dashboards for takt time flow with takt time counter and stop time log.

Digital visitor registration provides full control over all planned and executed visits to your business.
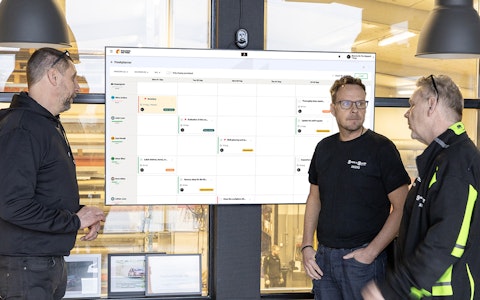
This article addresses actions performed in the administrator interface in Boards on Fire. Only users with the role "Customer admin have access to the administrator interface.
A data source can be simply described as a place where data is stored. A data source is created for the purpose of saving data according to a special template, for example goals/outcomes. Data sources are used in several components, including "Data Component", "Resource Planning" & "Number Visualization". To use these and other components that require data sources, you need to create a data source.
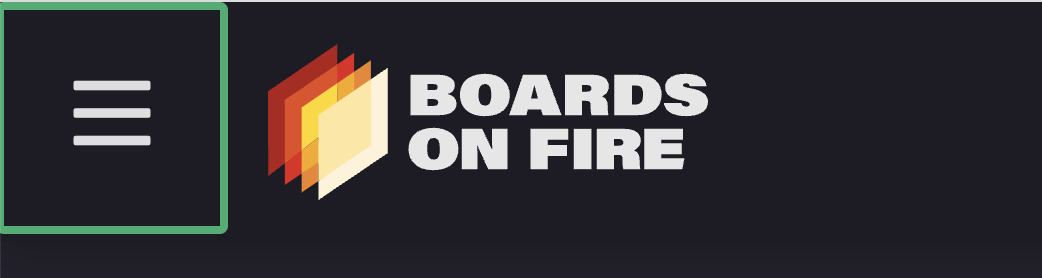
To create a data source in Boards on Fire, click on the three menu bars in the upper left corner.
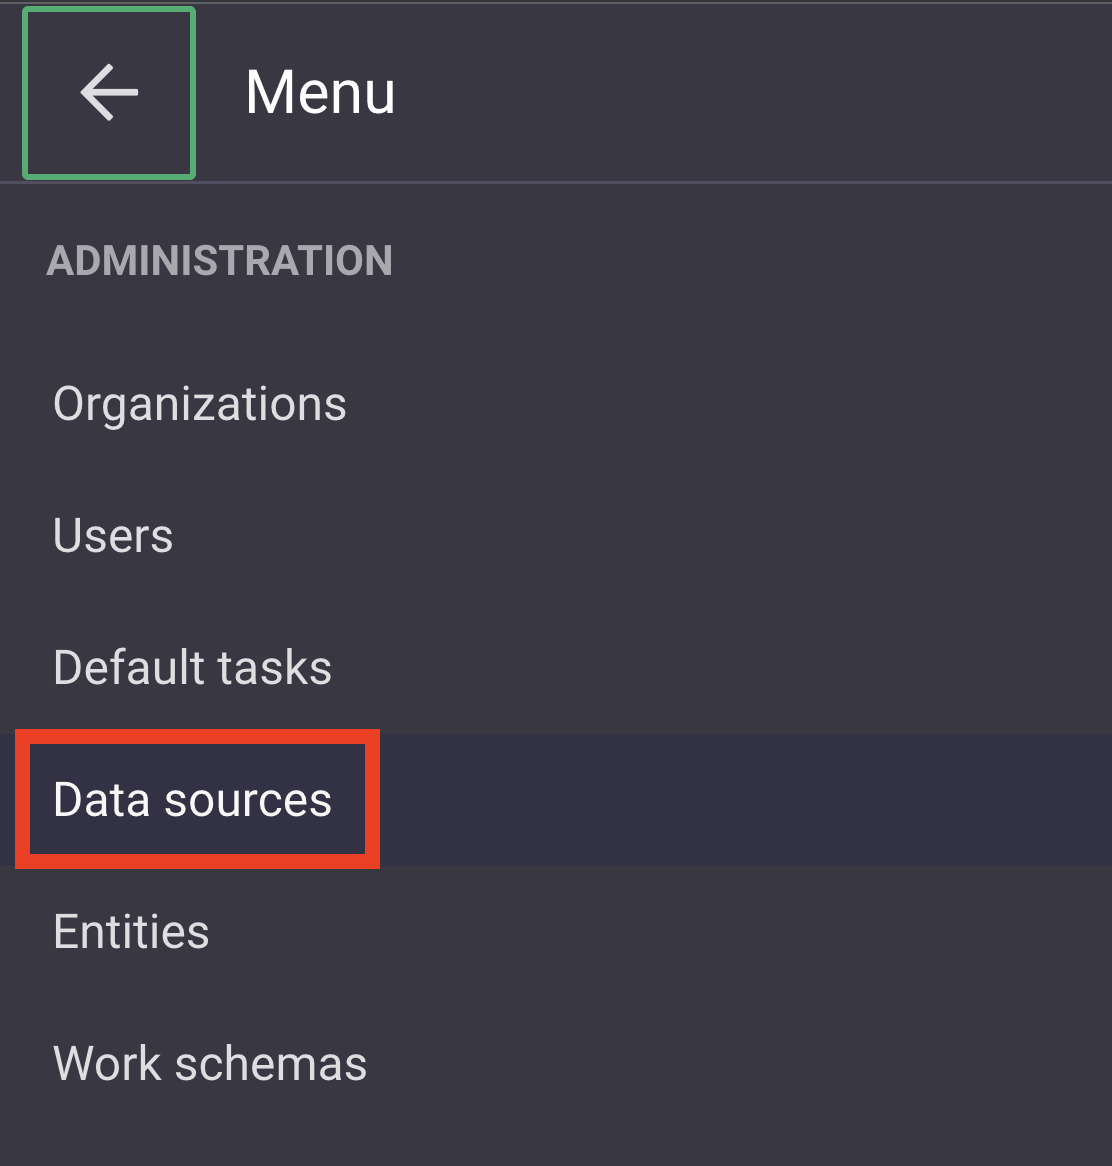
Then scroll down and click on the tab "Data sources" under the heading "Administration".
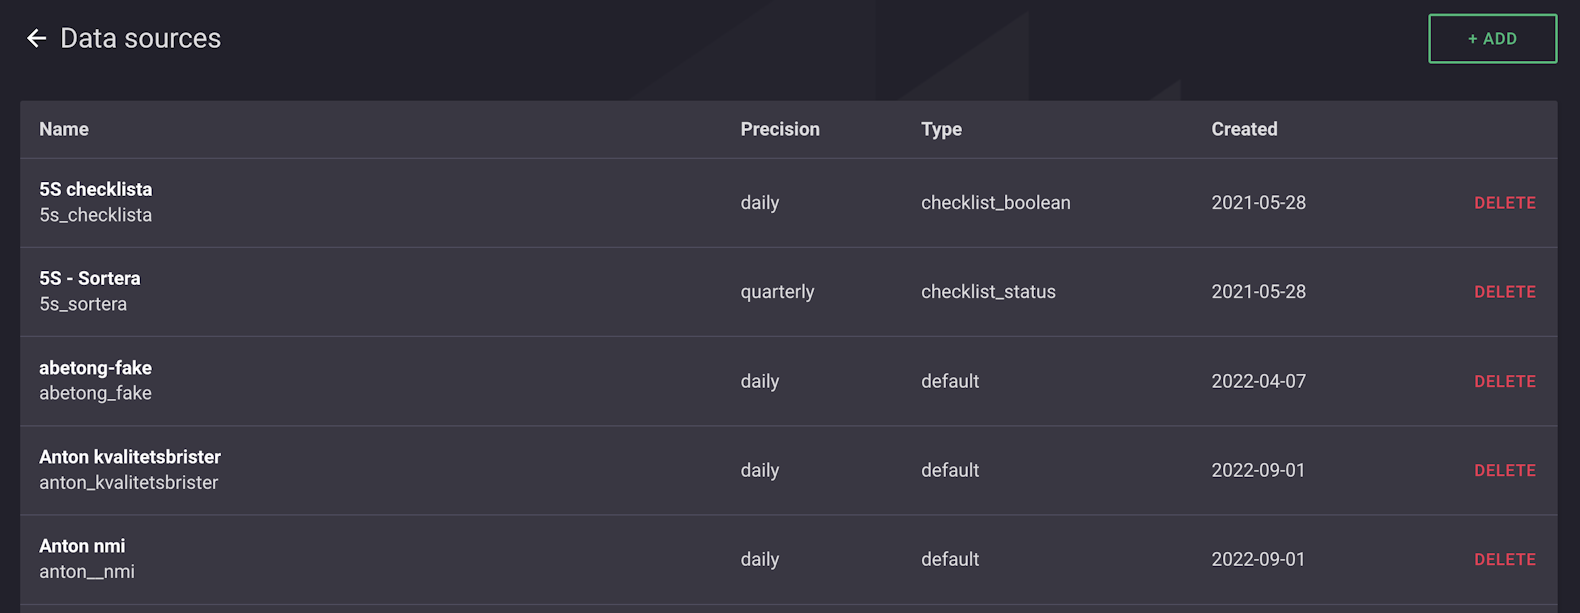
Now you see the list of all data sources that are saved. To create a new one, click on the green button with the text "+ Add" in the top right. Now you enter the menu for your new data source.
In the menu, you first need to choose a name for the data source. The name you write in the "Name" field must follow the following rules:
The name you enter here cannot be changed later, so choose the name carefully.
You can then choose the display name for your data source. It is this name that will appear in lists of available data sources. You enter the display name in the "Display name" field. Here you can use any characters you want, there are no rules for the redirect name. In the field under display name, you can also fill in a description for the data source.
Now you must choose the precision you want the data source to have. Precision means how often you want to enter new data. For a value per field per day, you should select precision = day. If it is per week or per month, you can instead choose the precision intended for those purposes.
The next step is to choose the type of your data source. It is the type the data source is set to that determines which sort fields can be used. For example, if you were to select the type "list of numbers" in the drop-down menu, you can only use fields of the type "Number". If you choose the "Standard" type, you can use any type of field you want in the data source.
You can add the fields in your data source that correspond to the data you want to input into the components of your tables. You do this by going to the "Fields" tab in the settings for your data source. To add new fields, click the green "Add field" button below the table. After you add a new field, you need to give it a key and a display name. For key, the same rules apply as for the "Name" field when you create a data source. For the display name field, there are no rules. When you have named your field, you need to choose which data type it should have. You select data type in the drop-down menu under the heading "Data type" on the far right of the field.
The data types that can be selected are as follows:
In addition to the fields you can create in the settings for a data source, it is also possible to create another type of field in the settings for a component – a virtual field. Virtual fields are not the same as "regular" fields, as they are a number field that gets its value through a calculation of the values from "regular" number fields. You create a virtual field by going to a component's settings, selecting the "Field" tab, and clicking "Add virtual field". When you create a virtual field, the same display name and key rules apply as for a "regular" field. The settings for the virtual field calculation are the same as those for a Gauge. You can also choose how many decimal places and which unit the virtual field should display.
An entity is also a place where data is stored. Unlike a data source, entities are primarily used to display projects, staffing and other lists. Entities are used, for example, in the entity component of dashboards and to create activity boards. To use these and other components that require an entity, you need to create one.
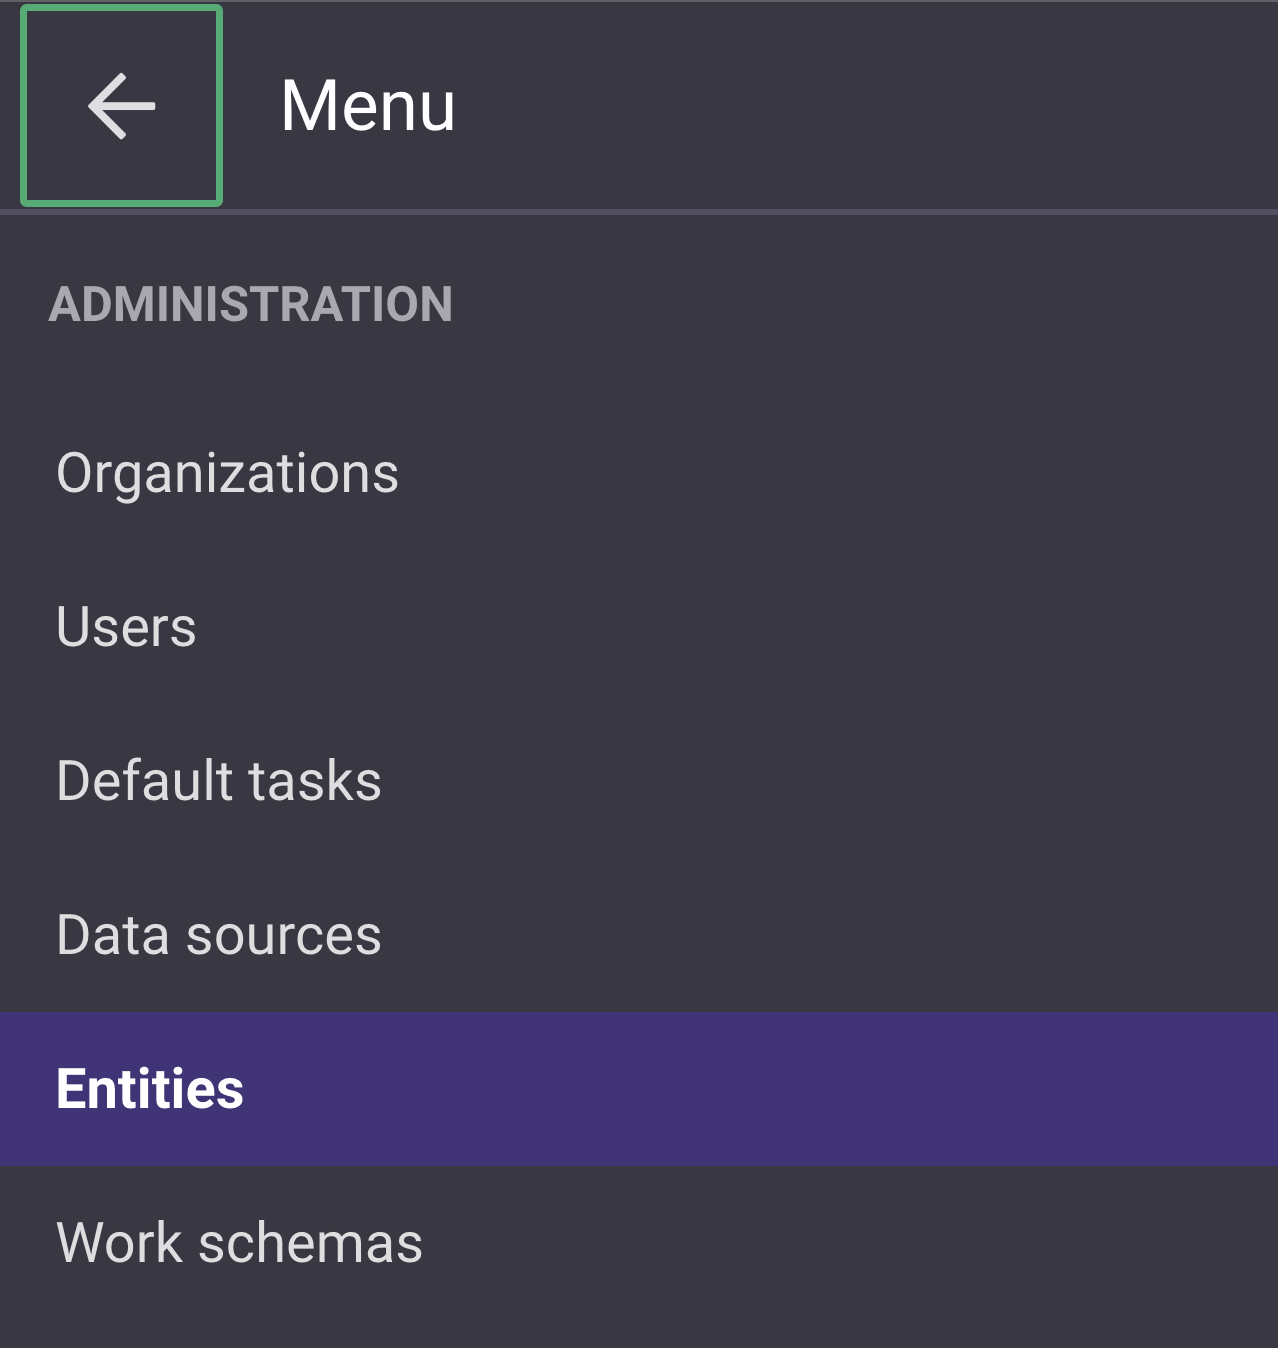
To create an entity in Boards on Fire, click on the three menu bars in the upper left corner. Then scroll down and click on the tab "Entities" under the heading "Administration".
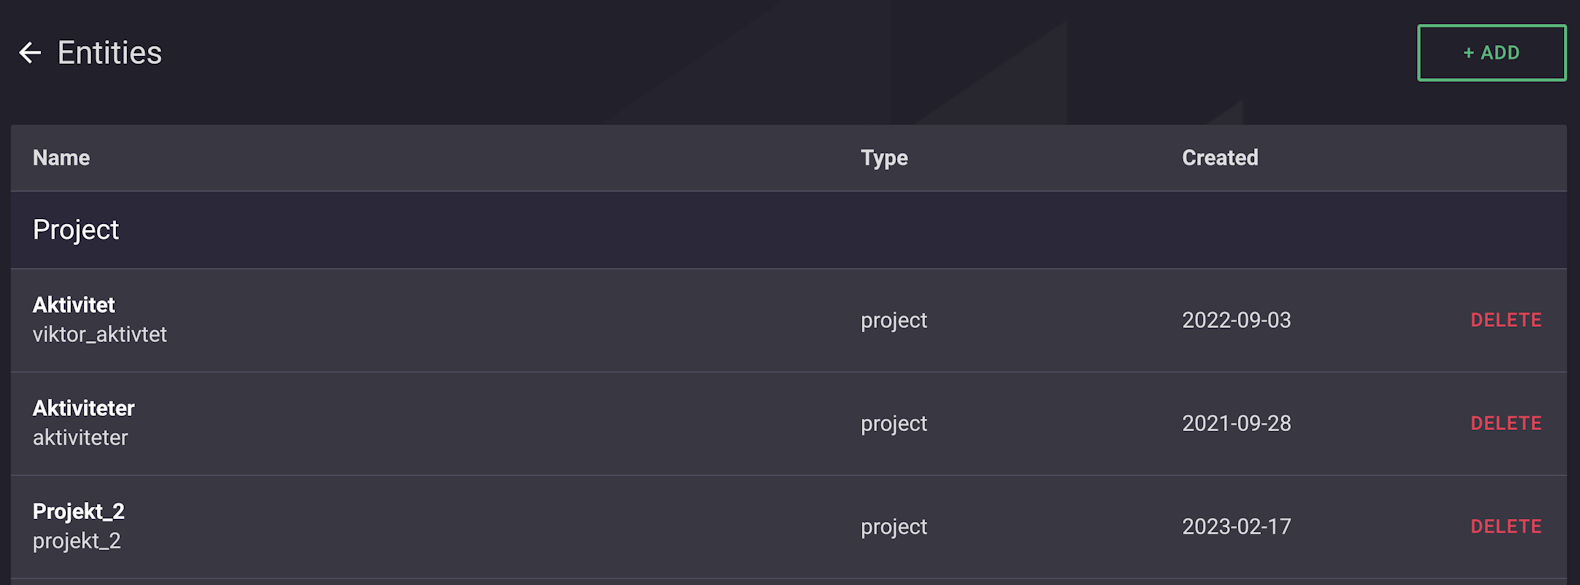
Now you see the list of all entities that are saved. To create a new one, click on the green button with the text "+ Add" in the top right. Now you enter the menu for your new entity.
In the menu, you first need to choose a name for the entity. The name you write in the "Name" field must follow the following rules:
The name you enter here cannot be changed later, so choose the name carefully.
You can then choose the display name for your entity. It is this name that will appear in lists of available entities. You enter the display name in the "Display name" field. Here you can use which characters you want, there are no rules for the display name. In the field under display name, you can also fill in a description for the entity.
When you create a new entity, you can choose the type of your entity in the first step. The choice you make can give you a template for your entity. If you choose the type "project", there will be some fields in the entity right from the start, which can facilitate the creation of the entity. If you want a completely empty entity to build from, choose the type “Standard”.
You should now add some fields to your entity. You do this by going to the "Field" tab in the settings for your entity. To add new fields, click the green "Add field" button below the table. After you add a new field, you need to give it a key and a display name. For the key, the same rules apply as for the "Name" field when you create a new entity. For the display name field, there are no rules. Once you have named your field, you need to choose the data type it should have. You select data type in the drop-down menu under the heading "Data type" on the far right of the field.
The data types that can be selected are the following:
Free web demo